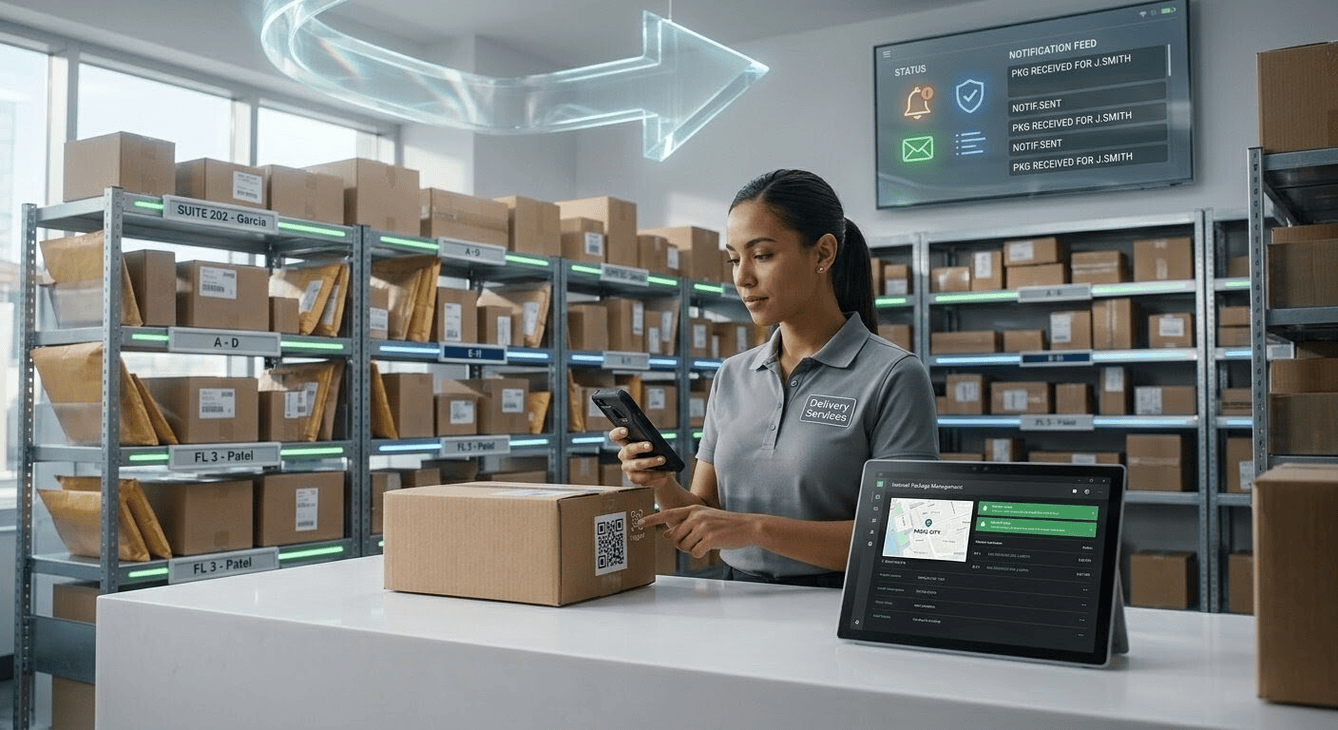
Hospital Mailroom Management Made Simple


In healthcare settings, even routine deliveries play an important role in day-to-day operations. Supplies, equipment, and time-sensitive items need to be handled correctly from the moment they arrive.
Most hospitals operate across multiple buildings, wards, and departments. Parcels move between central mailrooms, internal couriers, and collection points throughout the day. When tracking relies on manual processes or disconnected systems, visibility can break down quickly. Parcels may be misplaced, handovers become unclear, and staff are left chasing updates.
In hospital environments, those delays don’t just slow operations. They can disrupt clinical and administrative workflows, and ultimately, patient care. Parcel Tracker helps hospitals speed up intake while maintaining accountability, giving teams a clear view of where parcels are, who has handled them, and where they’re going next.
1. Create a Parcel Tracker Account
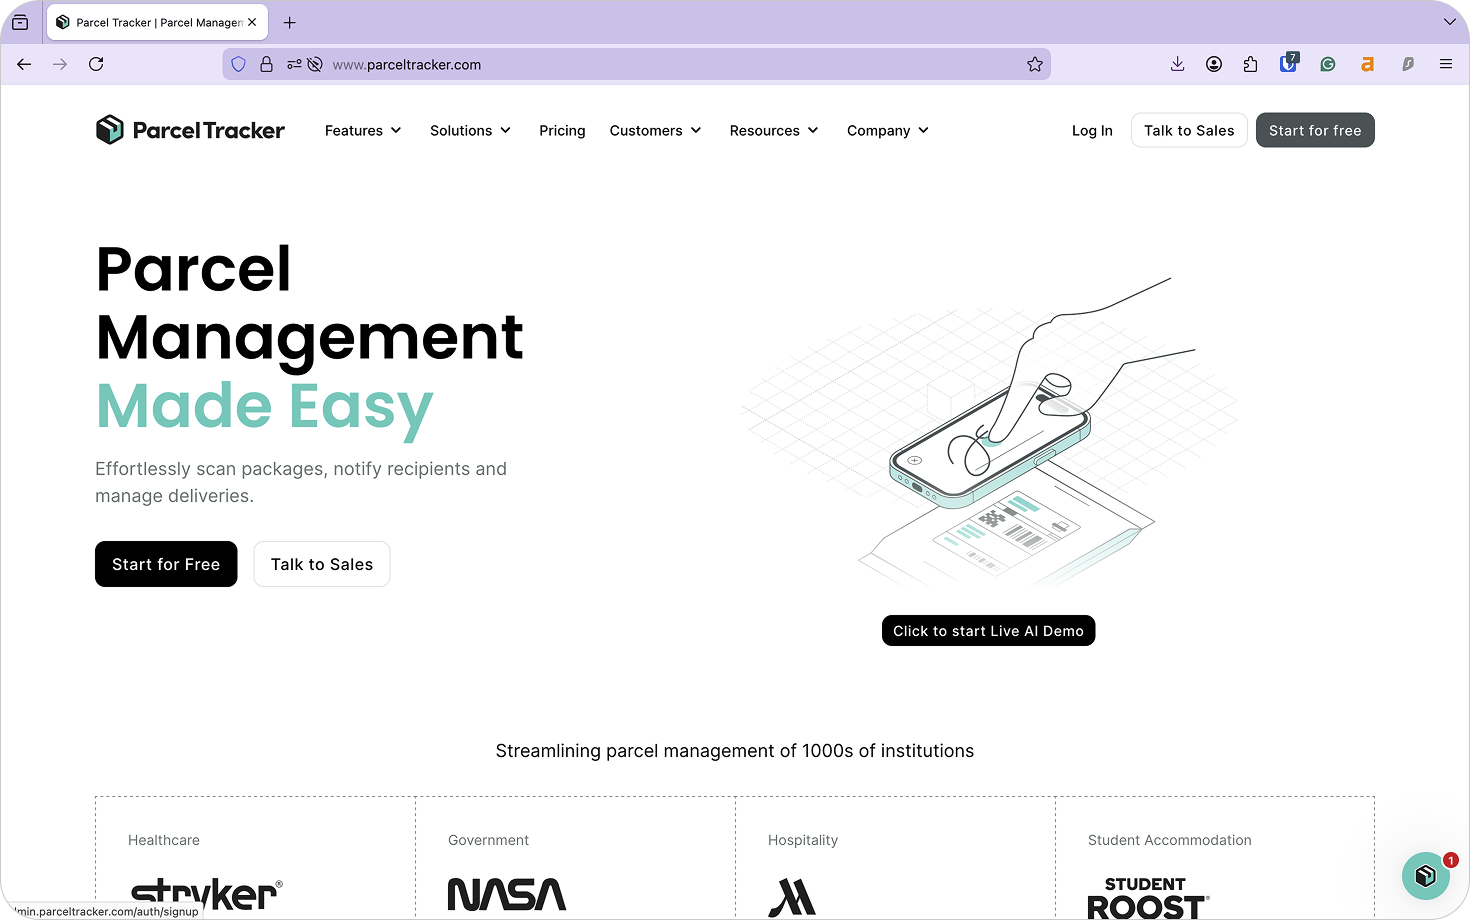
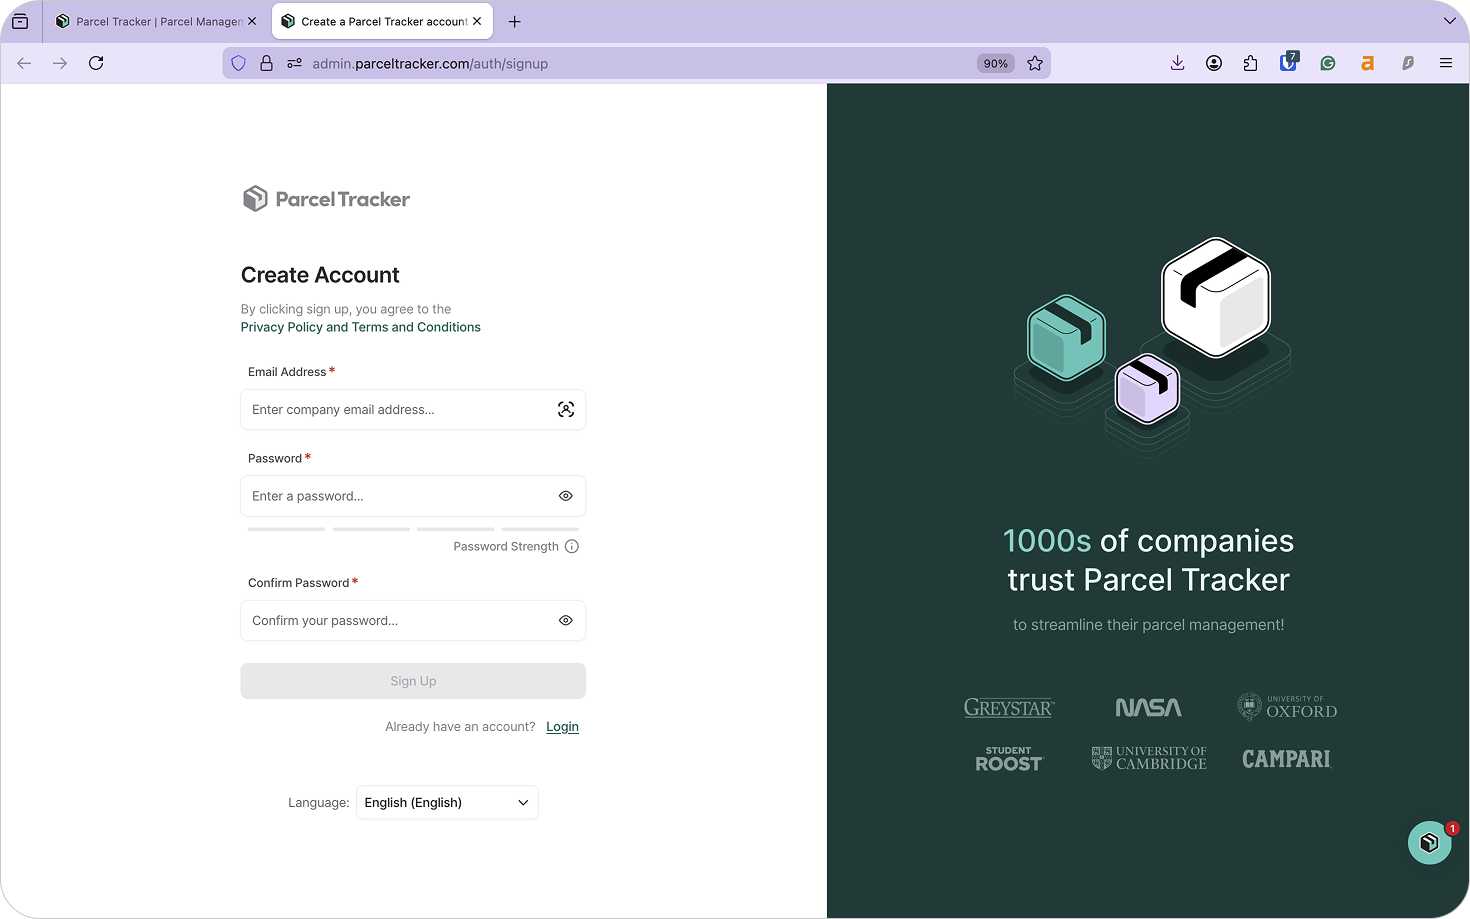
Go to parceltracker.com and select Sign Up for Free to create your account. Once logged in, open Settings from the lower left-hand corner to add your organization’s logo and address.
Next, navigate to Settings → Features and enable Additional Parcel Details. This allows your team to:
- Add parcel tags
- Assign storage locations
- Capture a clear photo of the parcel at intake

In busy hospital environments, this added detail helps teams keep parcels organized from arrival to delivery, reducing disputes and uncertainty during handovers and collection.
2. Add Sites
Sites represent the different points where parcels are handled within your organization. These may include receiving bays, central mailrooms, departmental intake points, or collection areas.
In hospitals, each building or major department may act as its own site. Setting these up individually allows Parcel Tracker to reflect how parcels actually move across your estate.
To add a site:
- From the dashboard, select Sites
- Click Add Site
- Enter the site name and address
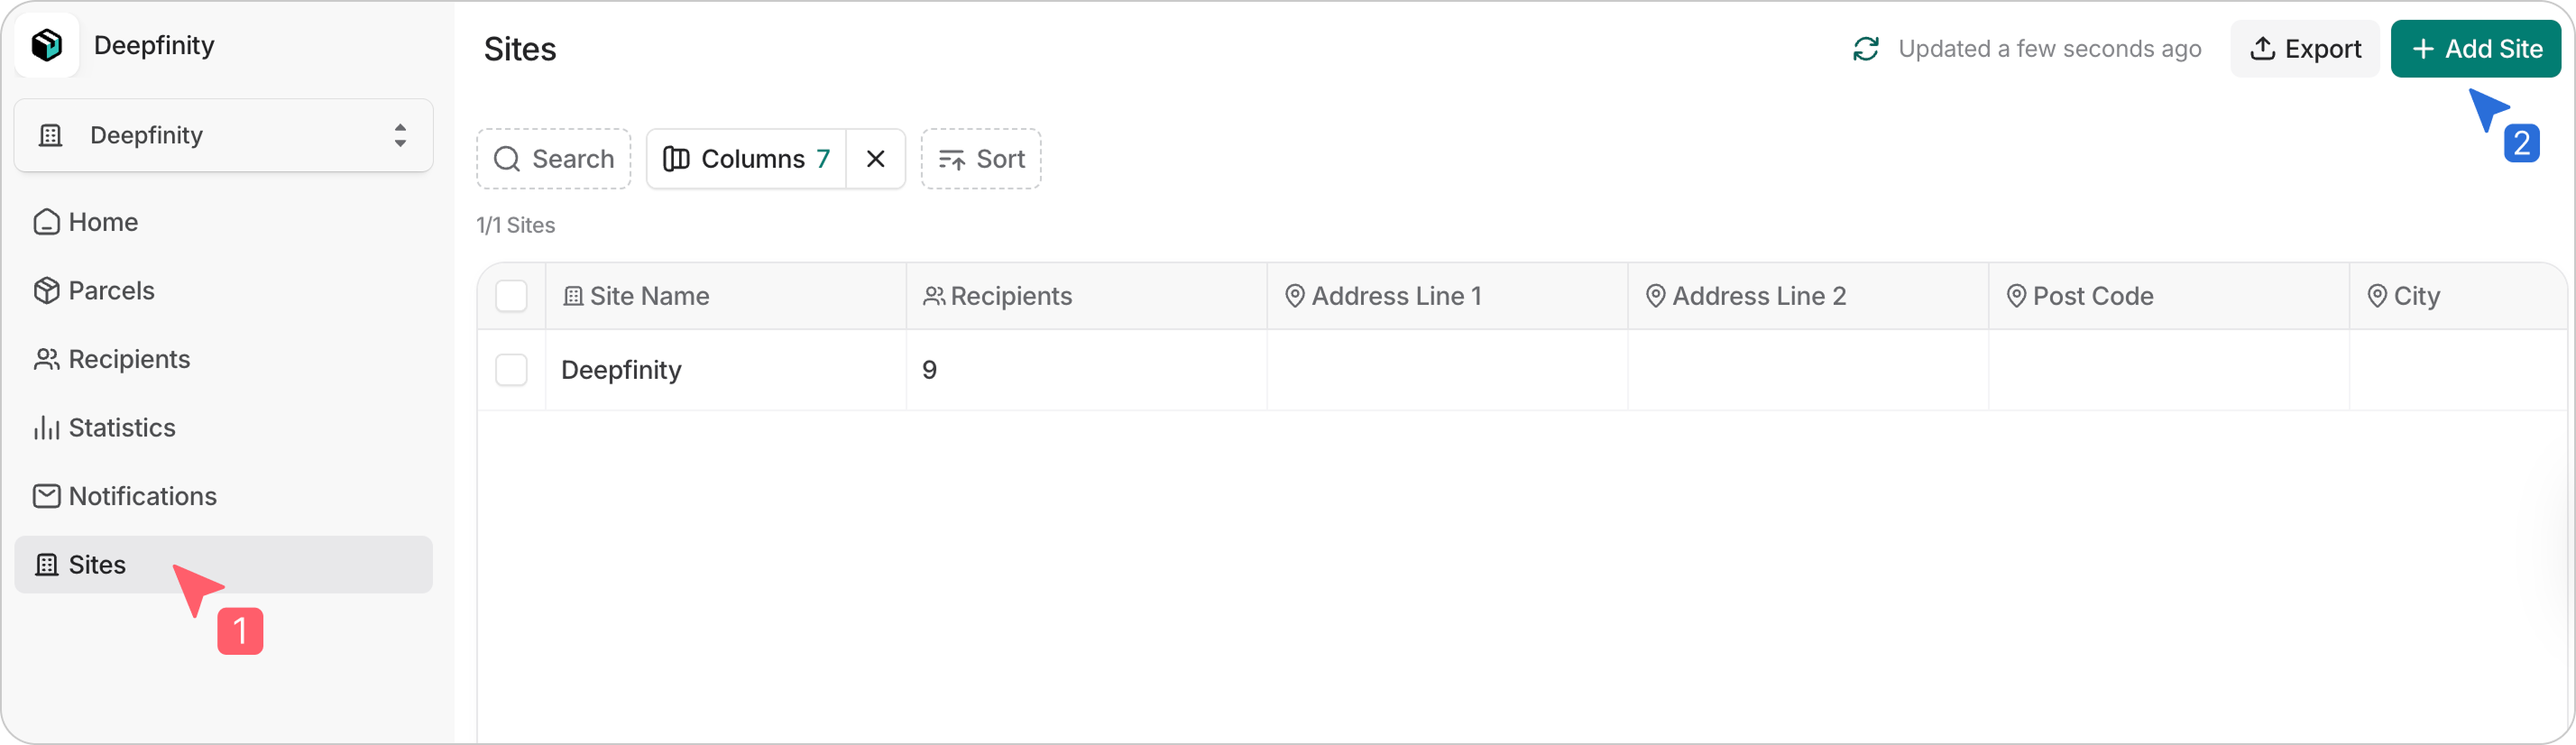
This makes it easier to manage parcels across multiple buildings while keeping everything within one system.
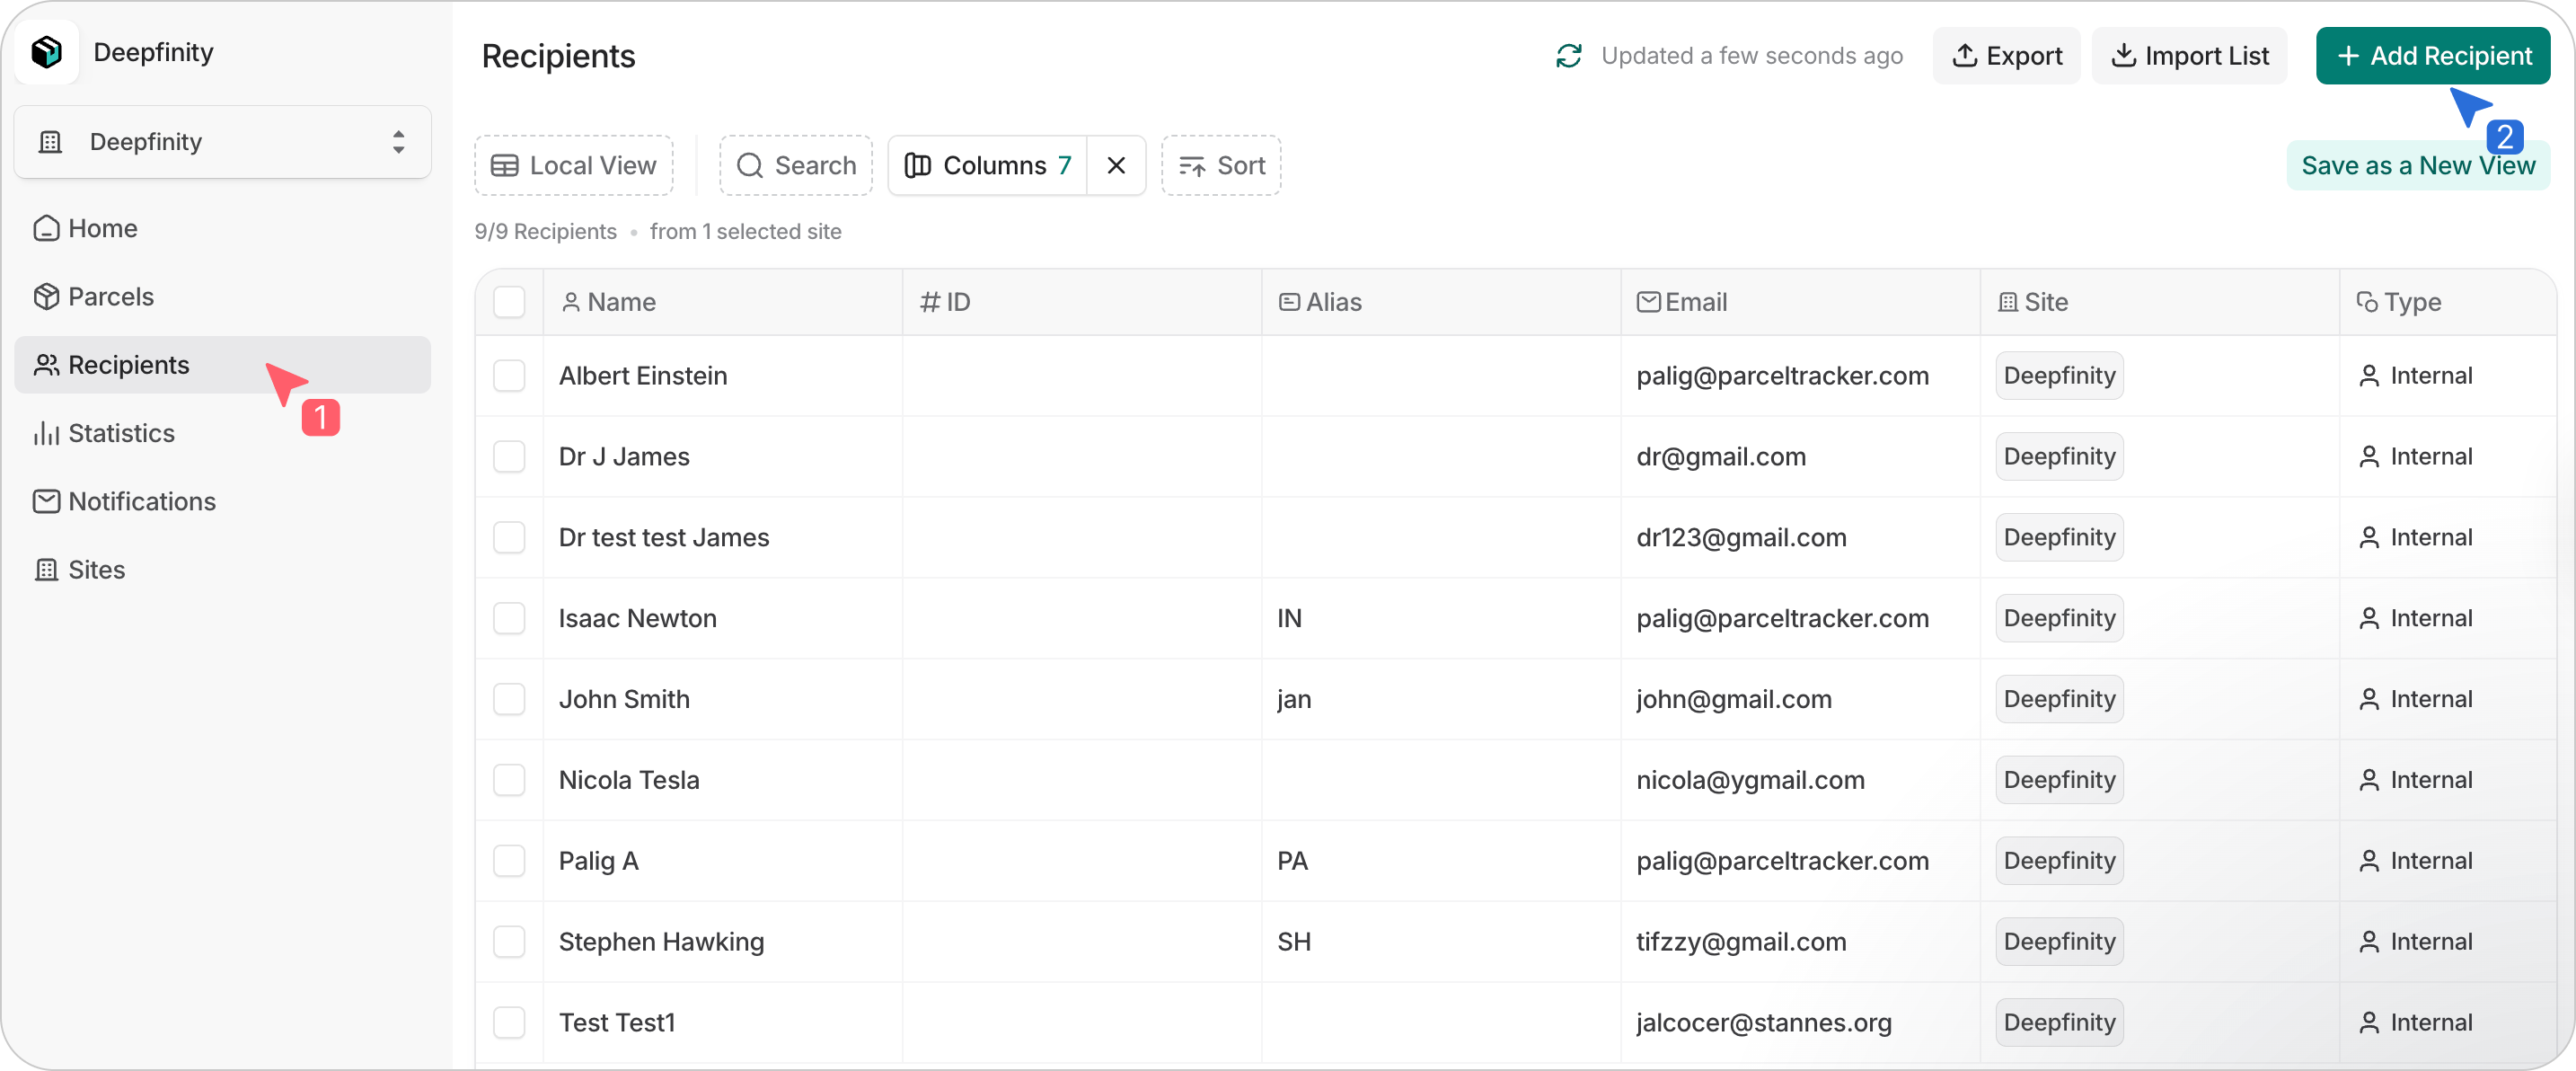
3. Upload Your Recipient List
Before scanning any parcels, upload your recipient list. For hospitals, this typically includes staff responsible for department-specific supplies, as well as staff who receive personal deliveries on site.
Parcel Tracker uses this list to automatically match parcels to recipients and send notifications as soon as items are logged. Without a recipient list, parcels may need to be logged manually, increasing the risk of delays or items being placed on hold.
A hospital recipient list should include:
- First name
- Last name
- Email address
- Location (Department, floor, or room name)
For multi-building workflows, we also recommend including:
- Site – the building where the recipient is based
- Additional site – the first intake point, such as a central mailroom or receiving bay
- Drop-off location – the final handover or collection point within the recipient’s site
Drop-off locations are especially helpful for internal couriers, allowing them to see exactly where parcels need to go from the mobile app.
To upload your CSV:
- Select Recipients from the dashboard
- Choose Import List
- Confirm permission and select Continue
- Map columns to the correct fields and select Continue
- Review and confirm the upload
Parcel Tracker will flag errors, duplicates, and changes if you upload an updated list later.
4. Set Up Scanning Devices for Mailroom Staff
Next, designate the devices your team will use to scan parcels. Parcel Tracker works on both Apple and Android phones or tablets.
For best performance, we recommend:
- iPhone SE or newer
- Android devices with at least 6GB RAM and a 2.8GHz processor
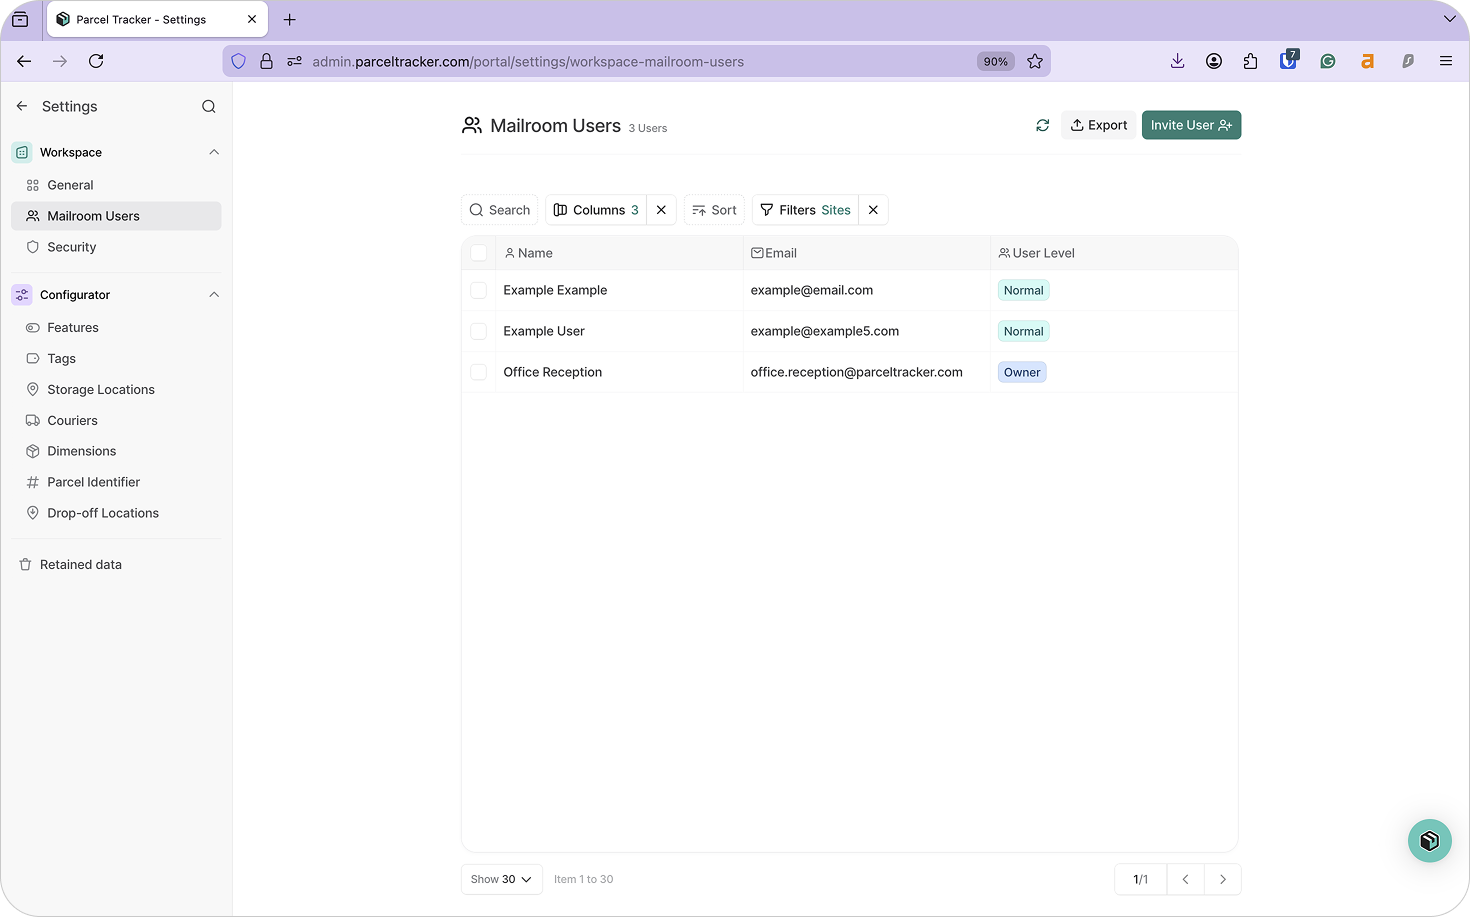
Hospitals may use dedicated shared devices or allow staff to install Parcel Tracker on their own phones. If staff use personal devices, they should be added as Mailroom Users.
To add users:
- Go to Mailroom Users → Invite User
- Enter their email address
- Assign roles based on responsibility
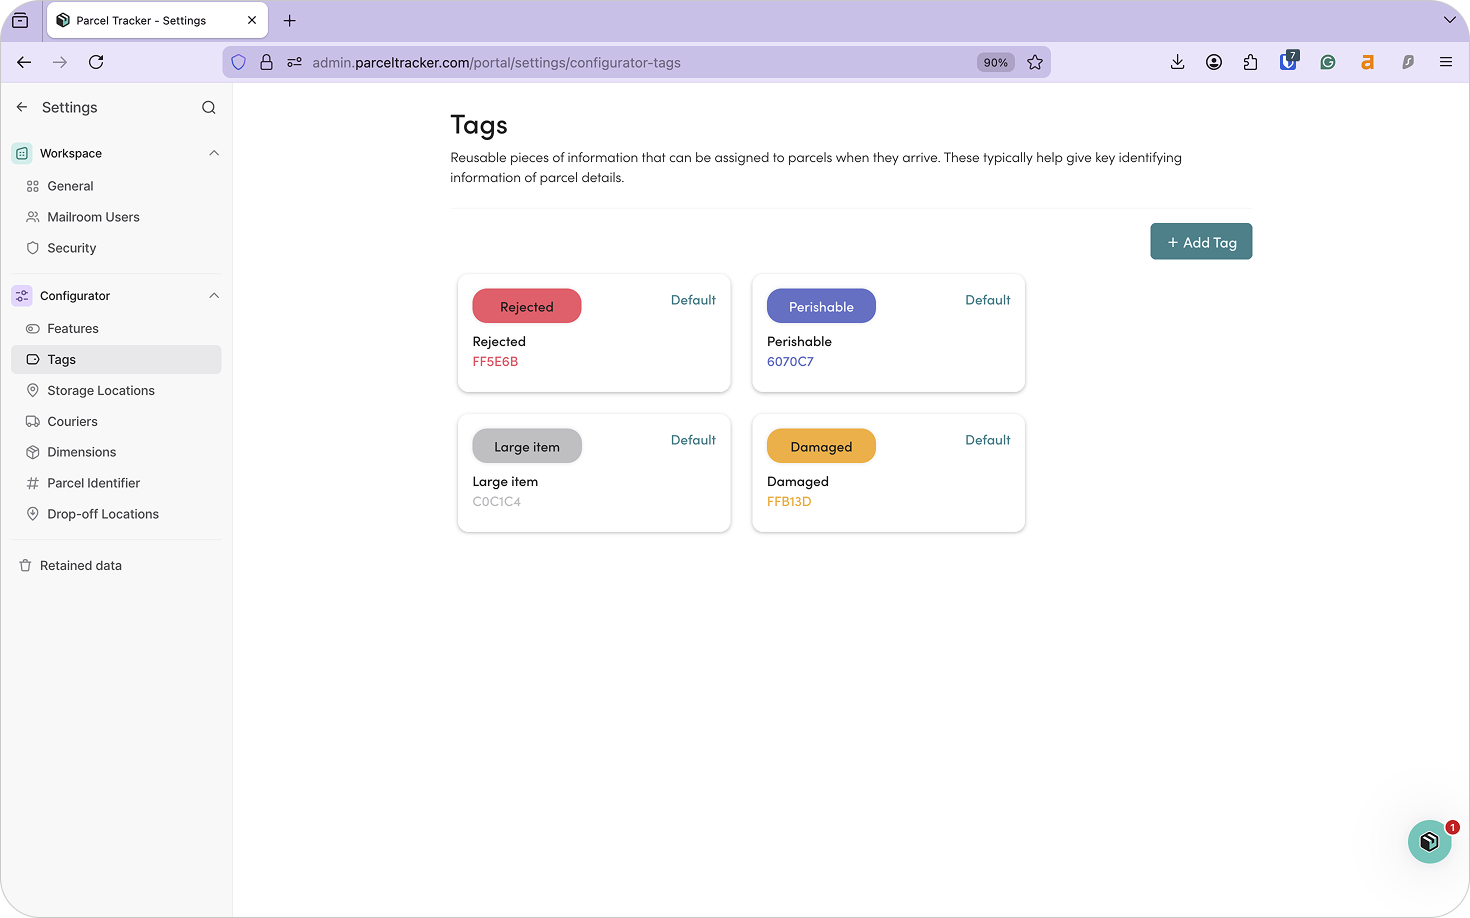
5. Configure Parcel Tags
Tags help staff quickly understand how a parcel should be handled. In hospitals, keeping tags simple and consistent helps intake stay fast, even during peak periods.
You may use:
- Handling tags: Fragile, Damaged, Temperature Sensitive
- Content tags: Medical Equipment, Clinical Supplies, IT Equipment
- Department routing tags: Pharmacy, Radiology, IT Services
- Workflow or compliance tags: Signature Required, Secure Storage, Internal Transfer Required
Clear tagging reduces guesswork and supports safe, compliant handling. To add a tag, click Add Tag and assign it a name and color.
6. Configure Notifications and Branding
Once parcels are scanned and stored, Parcel Tracker can automatically notify recipients. This keeps staff informed and reduces interruptions to mailroom teams.
Parcel Tracker supports four notification types:
- Delivery – when a parcel is scanned in
- Collection – when a parcel is picked up
- Reminder – if a parcel remains uncollected
- Sign-up – when a new recipient is added
Delivery and Collection notifications are enabled by default. To customize them:
- Open the Notifications tab
- Select + to enable a template
- Choose Actions → Edit to customize messaging
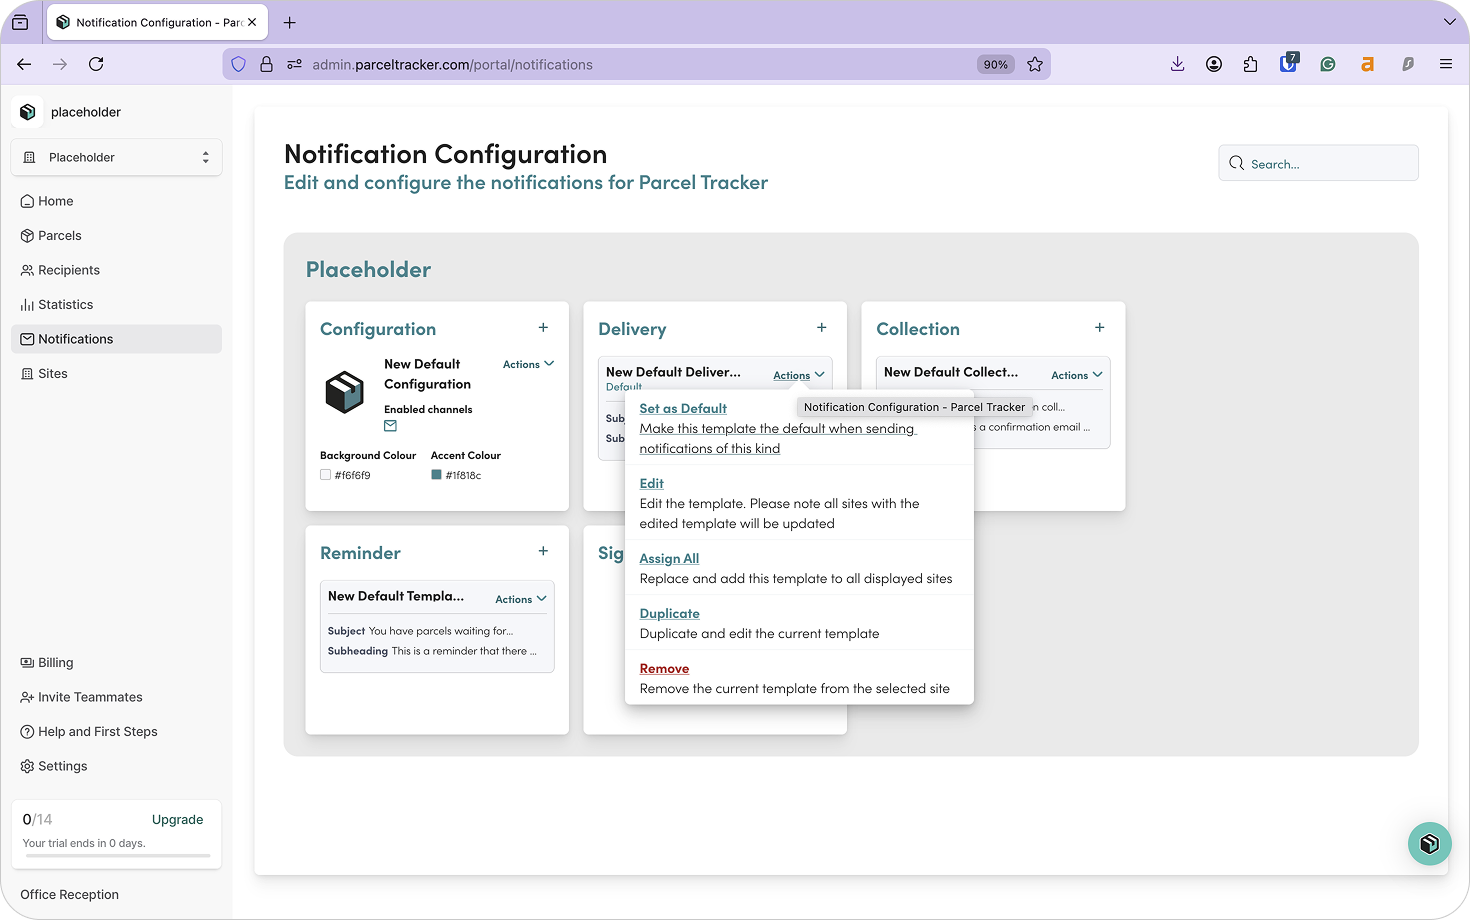
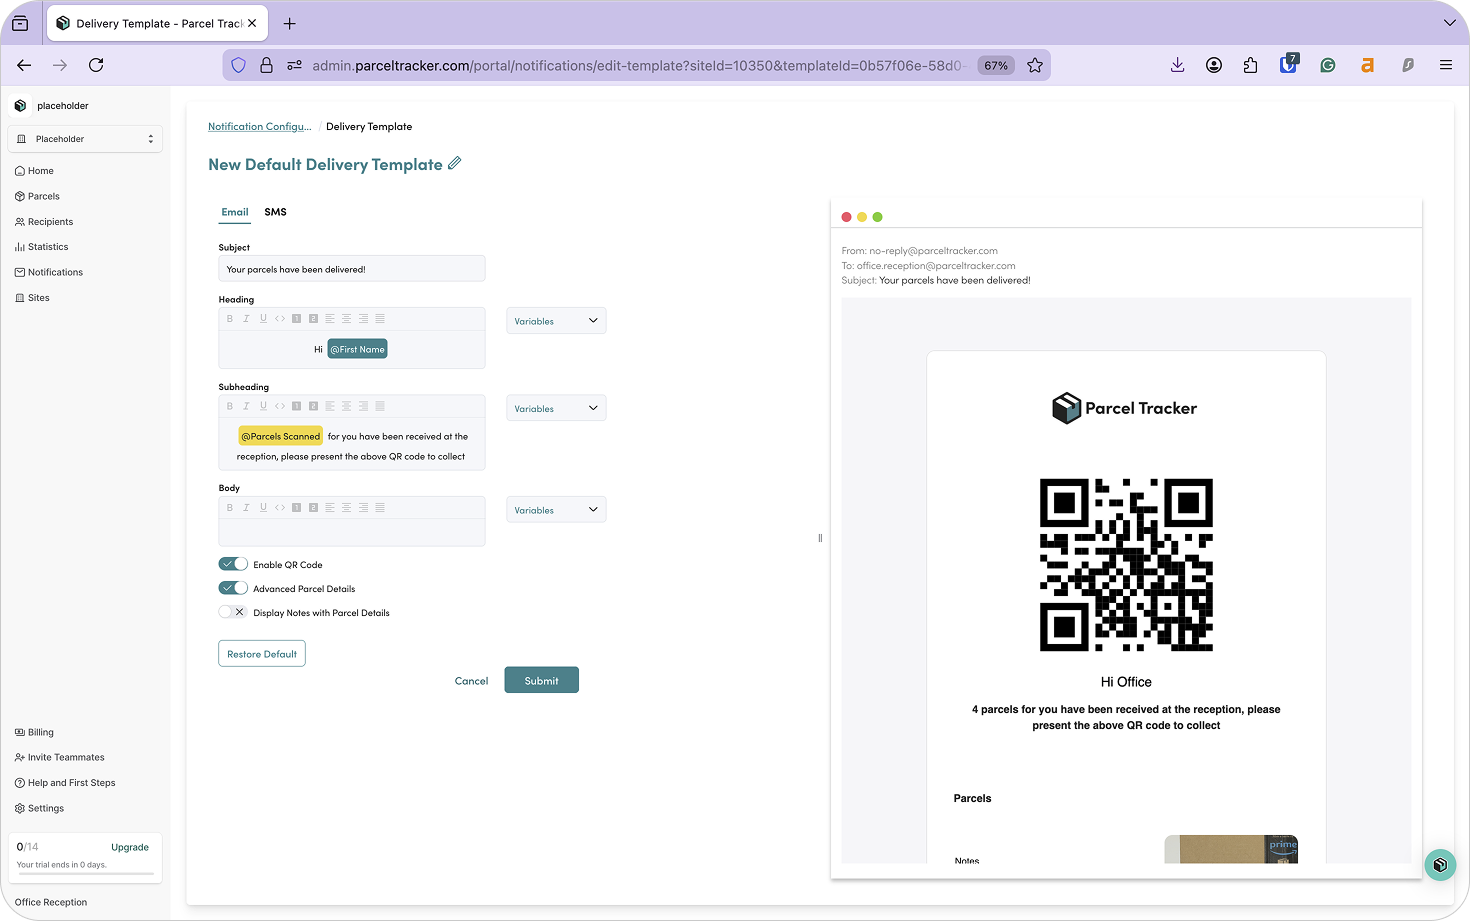
Notifications can be configured per site if needed.
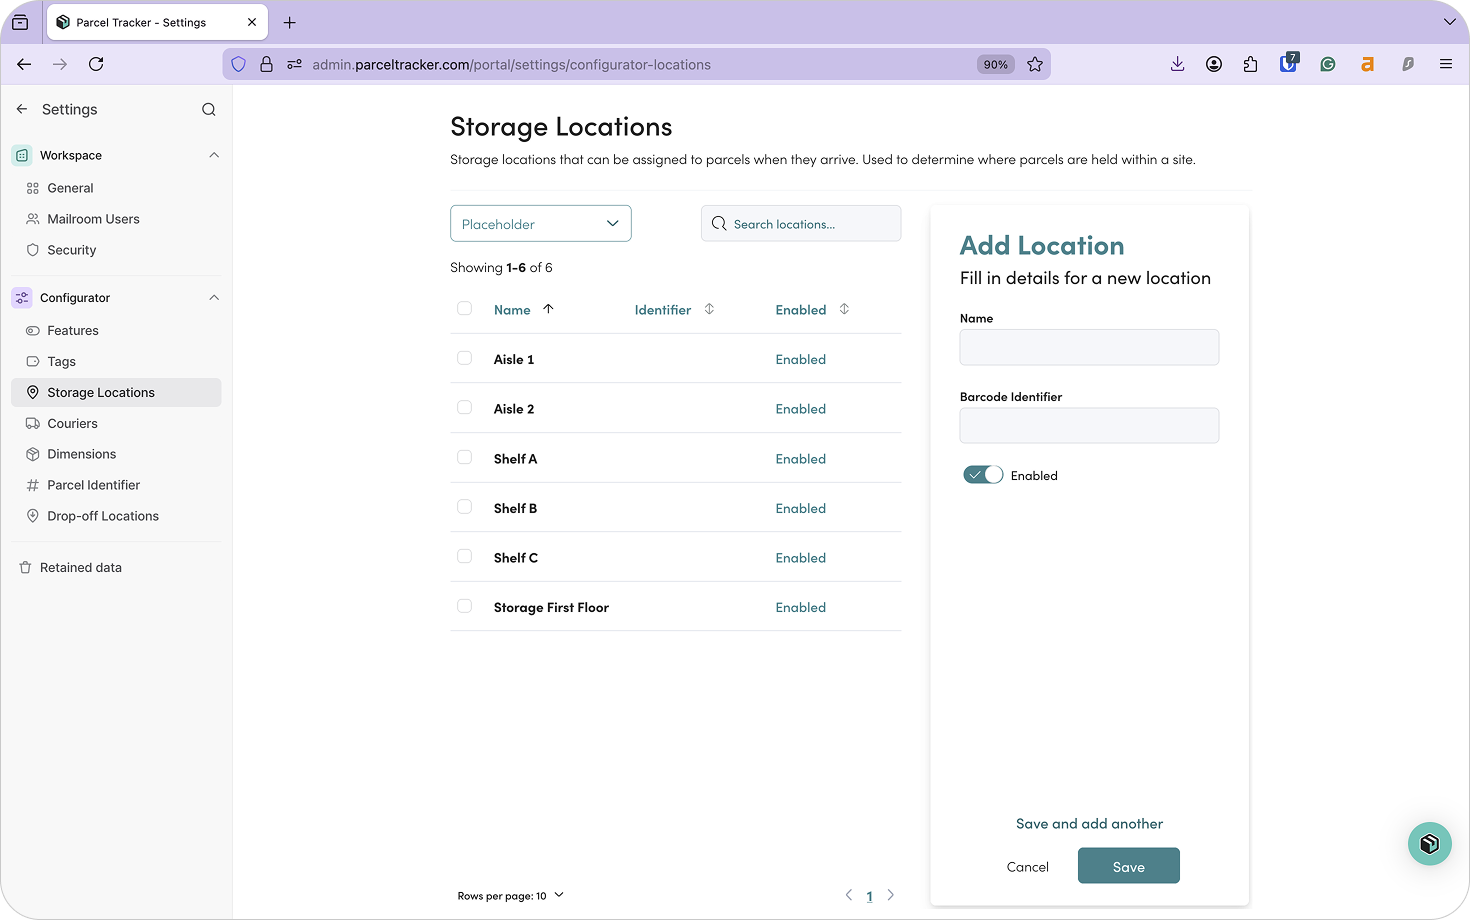
7. Set Up Storage Locations
Storage locations help teams quickly find parcels and prevent items from being misplaced. You can create storage locations for each site in your account.
For hospital mailrooms, we recommend mirroring your physical layout:
- Shelf A – Row 1
- Shelf A – Row 2
- Shelf B – Row 1
- Locker X / Locker Y
Assigning storage locations at scan-in saves time and improves accountability. To add a storage location, click Add Location.
8. Download Parcel Tracker for Mobile
Download Parcel Tracker – Mailroom from the iOS App Store or Google Play Store, then sign in using your account credentials.
You’re now ready to start scanning parcels.
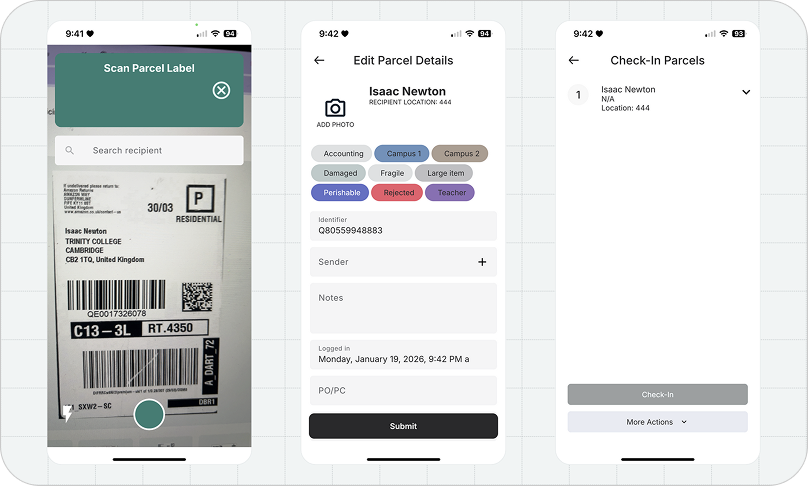
9. Parcel Sign-In
When a parcel arrives:
- Select Scan Parcels
- Hold the camera over the label
- Capture the recipient name and barcode
- Take a wider photo of the parcel
- Assign tags and a storage location
- Select Submit
When finished, select Next, then Check-in to sync parcels to the system.
All scanned parcels will appear in the Parcels tab on the dashboard.
10. Move Parcels Between Sites
Internal couriers can record parcel movement between sites, with each step logged in the parcel timeline.
To pick up parcels:
- Go to the Move tab
- Select Pick-up
- Scan or select parcels
- Confirm Pick-up
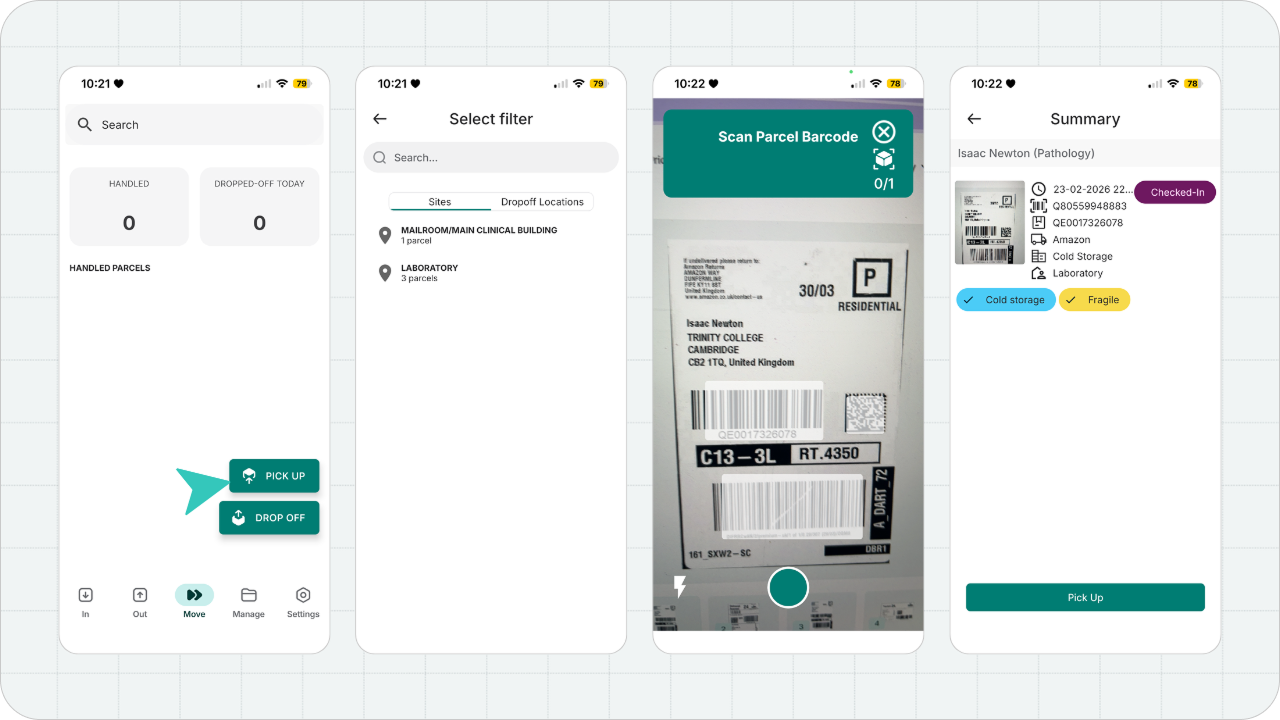
Parcels will now show as Handled, organized by drop-off location.
To drop off parcels:
- Select Drop-off from the Move tab
- Scan or select parcels
- Choose the destination site
- Confirm the drop-off
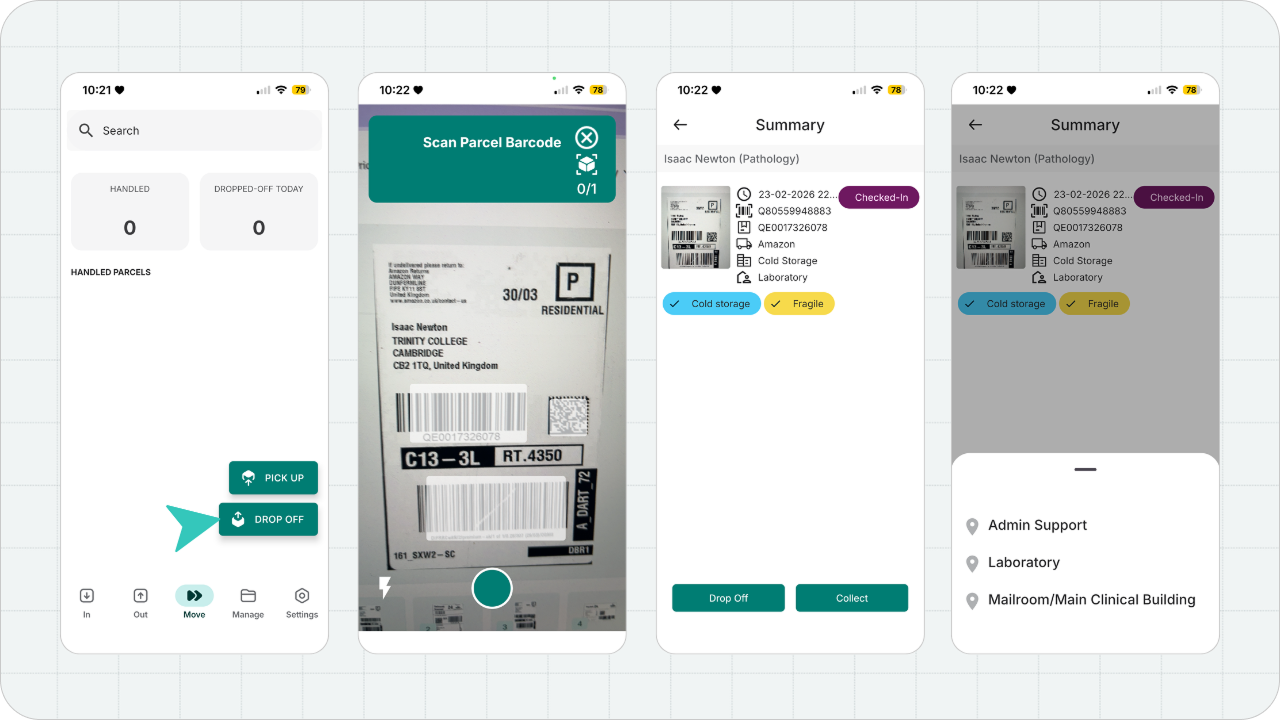
The receiving site will see those parcels as Checked In.
11. Parcel Sign-Out
Parcels can be signed out in two ways:
Via Move Tab
Used when couriers deliver directly to recipients. From the Move tab, the courier will select Drop Off and scan the correct parcels. When he is done, he'll select Collect, capture an e-signature, and mark the parcel as collected.
Via Recipient Check-Out
Used when recipients collect parcels themselves.
- Open the Out panel
- Select Recipient Check-out
- Scan the QR code from the notification
- Scan parcel labels
- Confirm check-out or capture e-signature
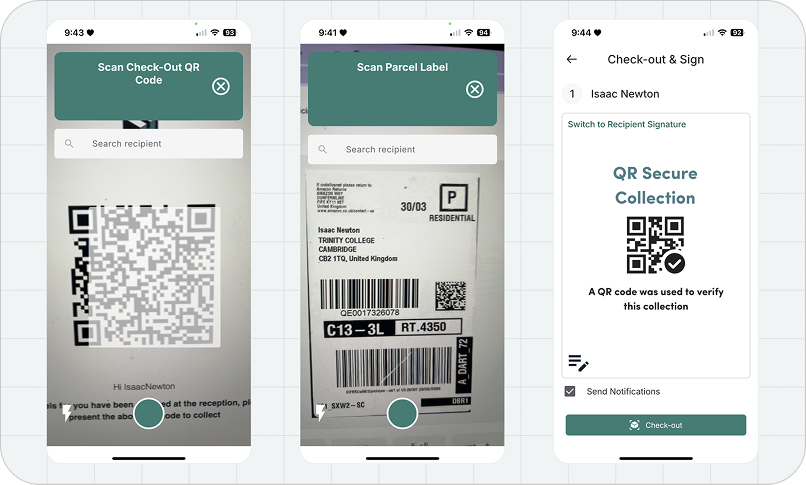
Parcels can also be signed out from the dashboard if needed.
Tip: Use Reporting to Stay Prepared
Parcel Tracker’s reporting tools help hospitals understand delivery patterns over time.
Useful metrics include:
- Peak delivery days and times
- Average pickup time
- Volume spikes
These insights help teams plan storage capacity, courier schedules, and staffing during busy periods.
Final Thoughts
Managing deliveries across multiple hospital buildings doesn’t have to mean lost visibility or unclear handovers.
With Parcel Tracker, hospital teams can move away from manual logs and gain a clear, auditable view of parcels from intake to delivery, all while keeping workflows fast, secure, and accountable.
Create a free Parcel Tracker account to get started.