University Mailroom Management for Multi-Site Campuses


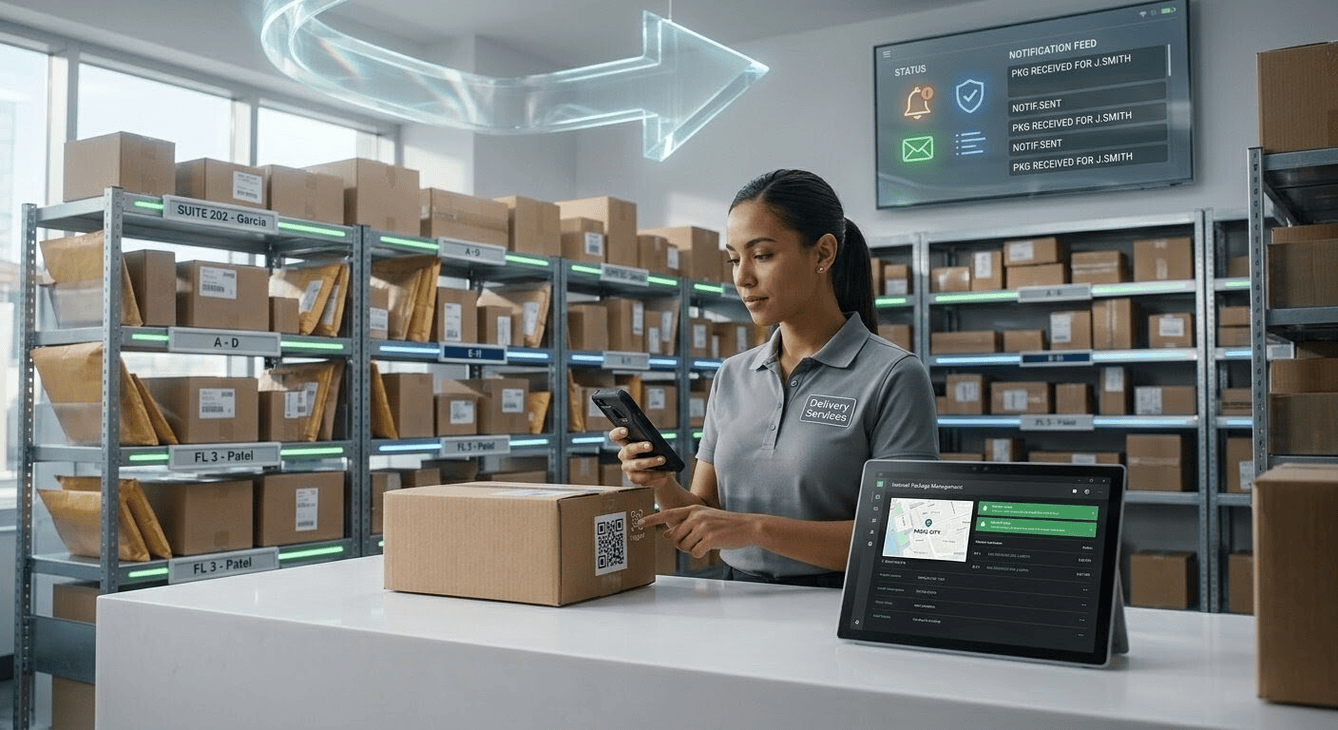
University mailrooms don’t slow down when lectures end. Between student deliveries, department supplies, and time-sensitive shipments, parcels arrive continuously across campus.
Large universities can operate multiple intake points like central mailrooms, residence halls, and departmental offices. Parcels may be scanned in one building, routed through internal couriers, and collected somewhere else entirely. Without a consistent system, parcels are logged inconsistently, visibility is lost, and mailroom teams spend valuable time responding to inquiries instead of managing intake.
Parcel Tracker helps universities bring structure to campus-wide parcel operations. By centralizing intake and tracking parcels as they move between buildings, teams can process high volumes efficiently while maintaining accountability from arrival to collection.
If your university operates with just one central mailroom, check out this simpler workflow.
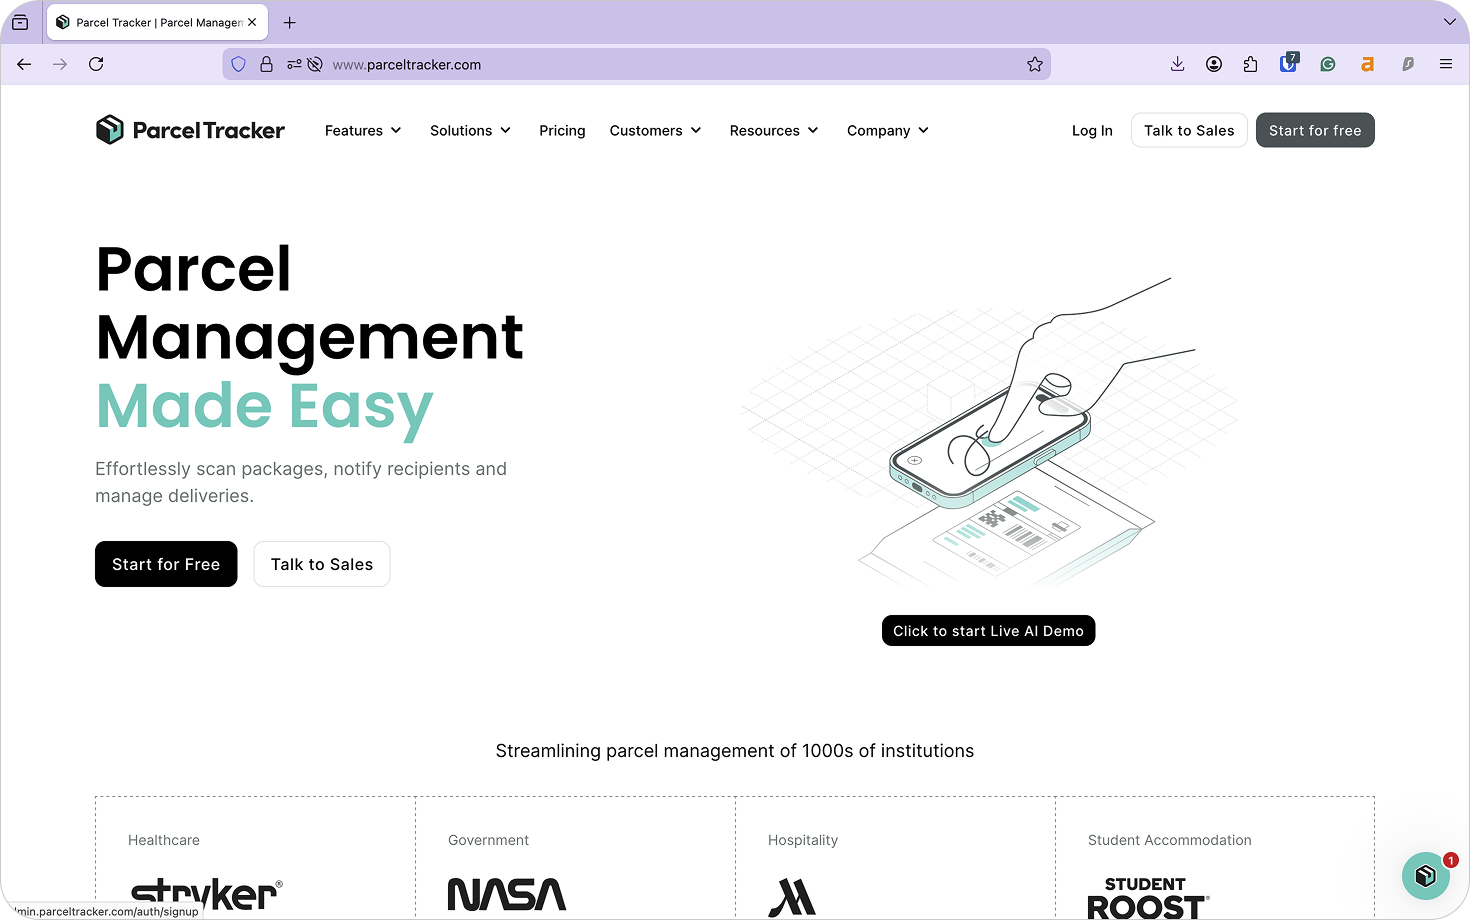
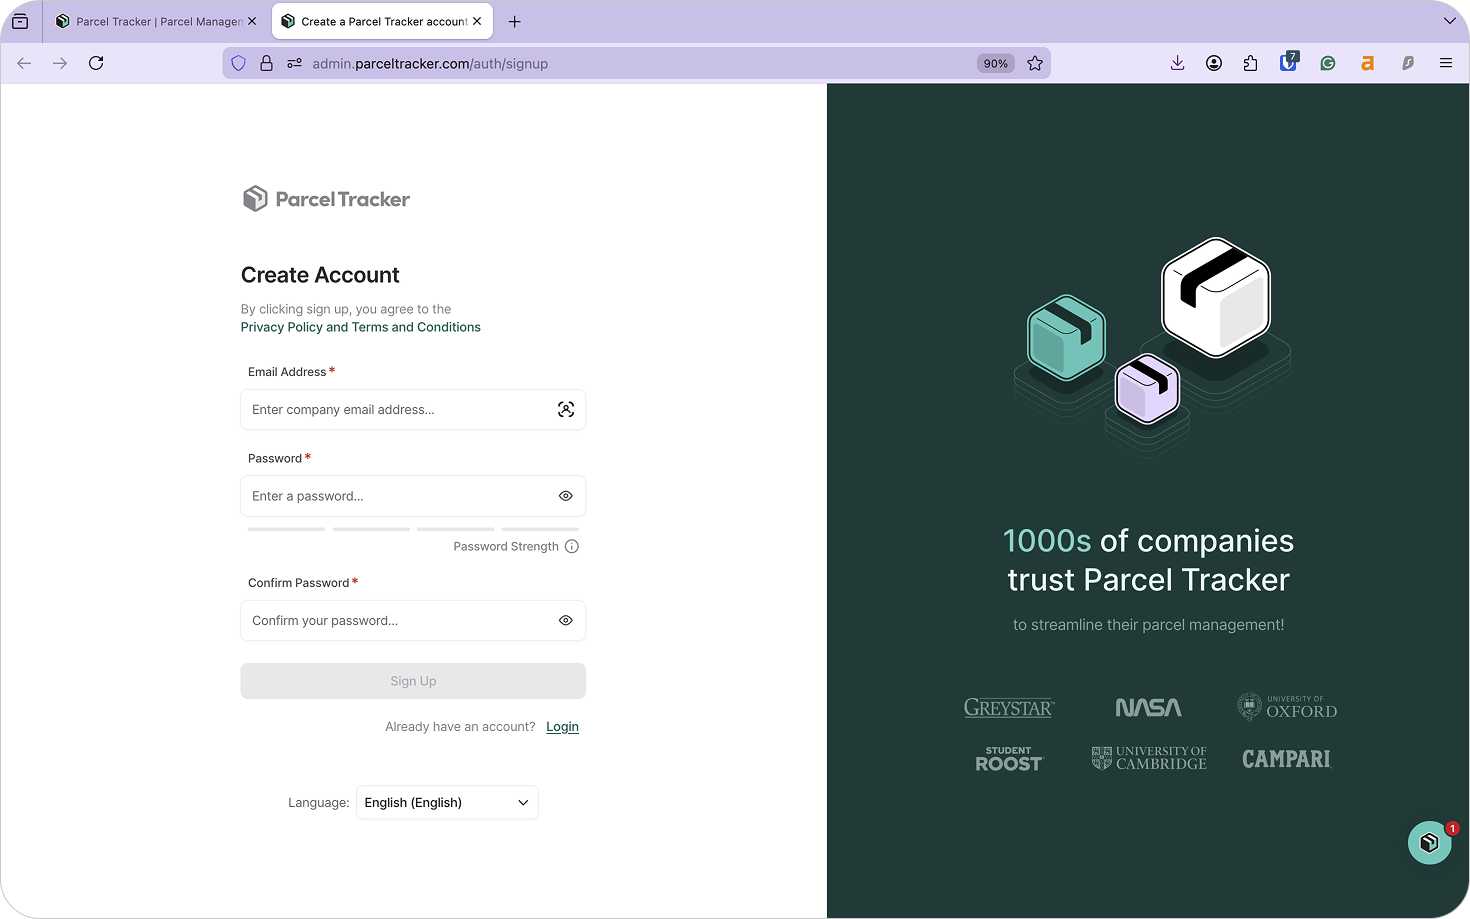
1. Create a Parcel Tracker Account
Go to parceltracker.com and select Sign Up for Free to create your account. Once logged in, open Settings from the lower left-hand corner to add your university’s logo and address.
Next, navigate to Settings → Features and enable Additional Parcel Details. This allows teams to:
- Add parcel tags
- Assign storage locations
- Capture a clear photo of parcels at intake

In high-volume university mailrooms, these details help staff quickly identify parcels and reduce confusion during busy periods such as term start or move-in week.
2. Add Sites
Sites represent the different buildings or intake points where parcels are handled across campus.
For universities, sites often include:
- Central mailrooms
- Residence hall mailrooms
- Department buildings
- Receiving bays
By setting each location up as a site, Parcel Tracker mirrors how parcels move across campus and provides clear visibility at every step.
To add a site:
- Select Sites from the dashboard
- Click Add Site
- Enter the site name and address
3. Upload Your Recipient List
Before scanning parcels, upload your recipient list. In university environments, this typically includes:
- Students living on campus
- Staff and faculty receiving deliveries
- Department representatives responsible for supplies
Parcel Tracker uses this list to automatically match parcels to recipients and trigger notifications as soon as parcels are logged. Without a recipient list, intake becomes manual, increasing delays and the risk of misplaced items.
A university recipient list should include:
- First name
- Last name
- Email address
- Location (Residence hall, department, room or office)
For campus-wide workflows, also include:
- Site – the building where the recipient is based
- Additional site – the initial intake point (e.g. central mailroom)
- Drop-off location – where parcels should be delivered or collected
These fields help internal couriers route parcels efficiently across campus.
To upload your CSV:
- Select Recipients
- Choose Import List
- Confirm permission and select Continue
- Map fields and review before completing the upload
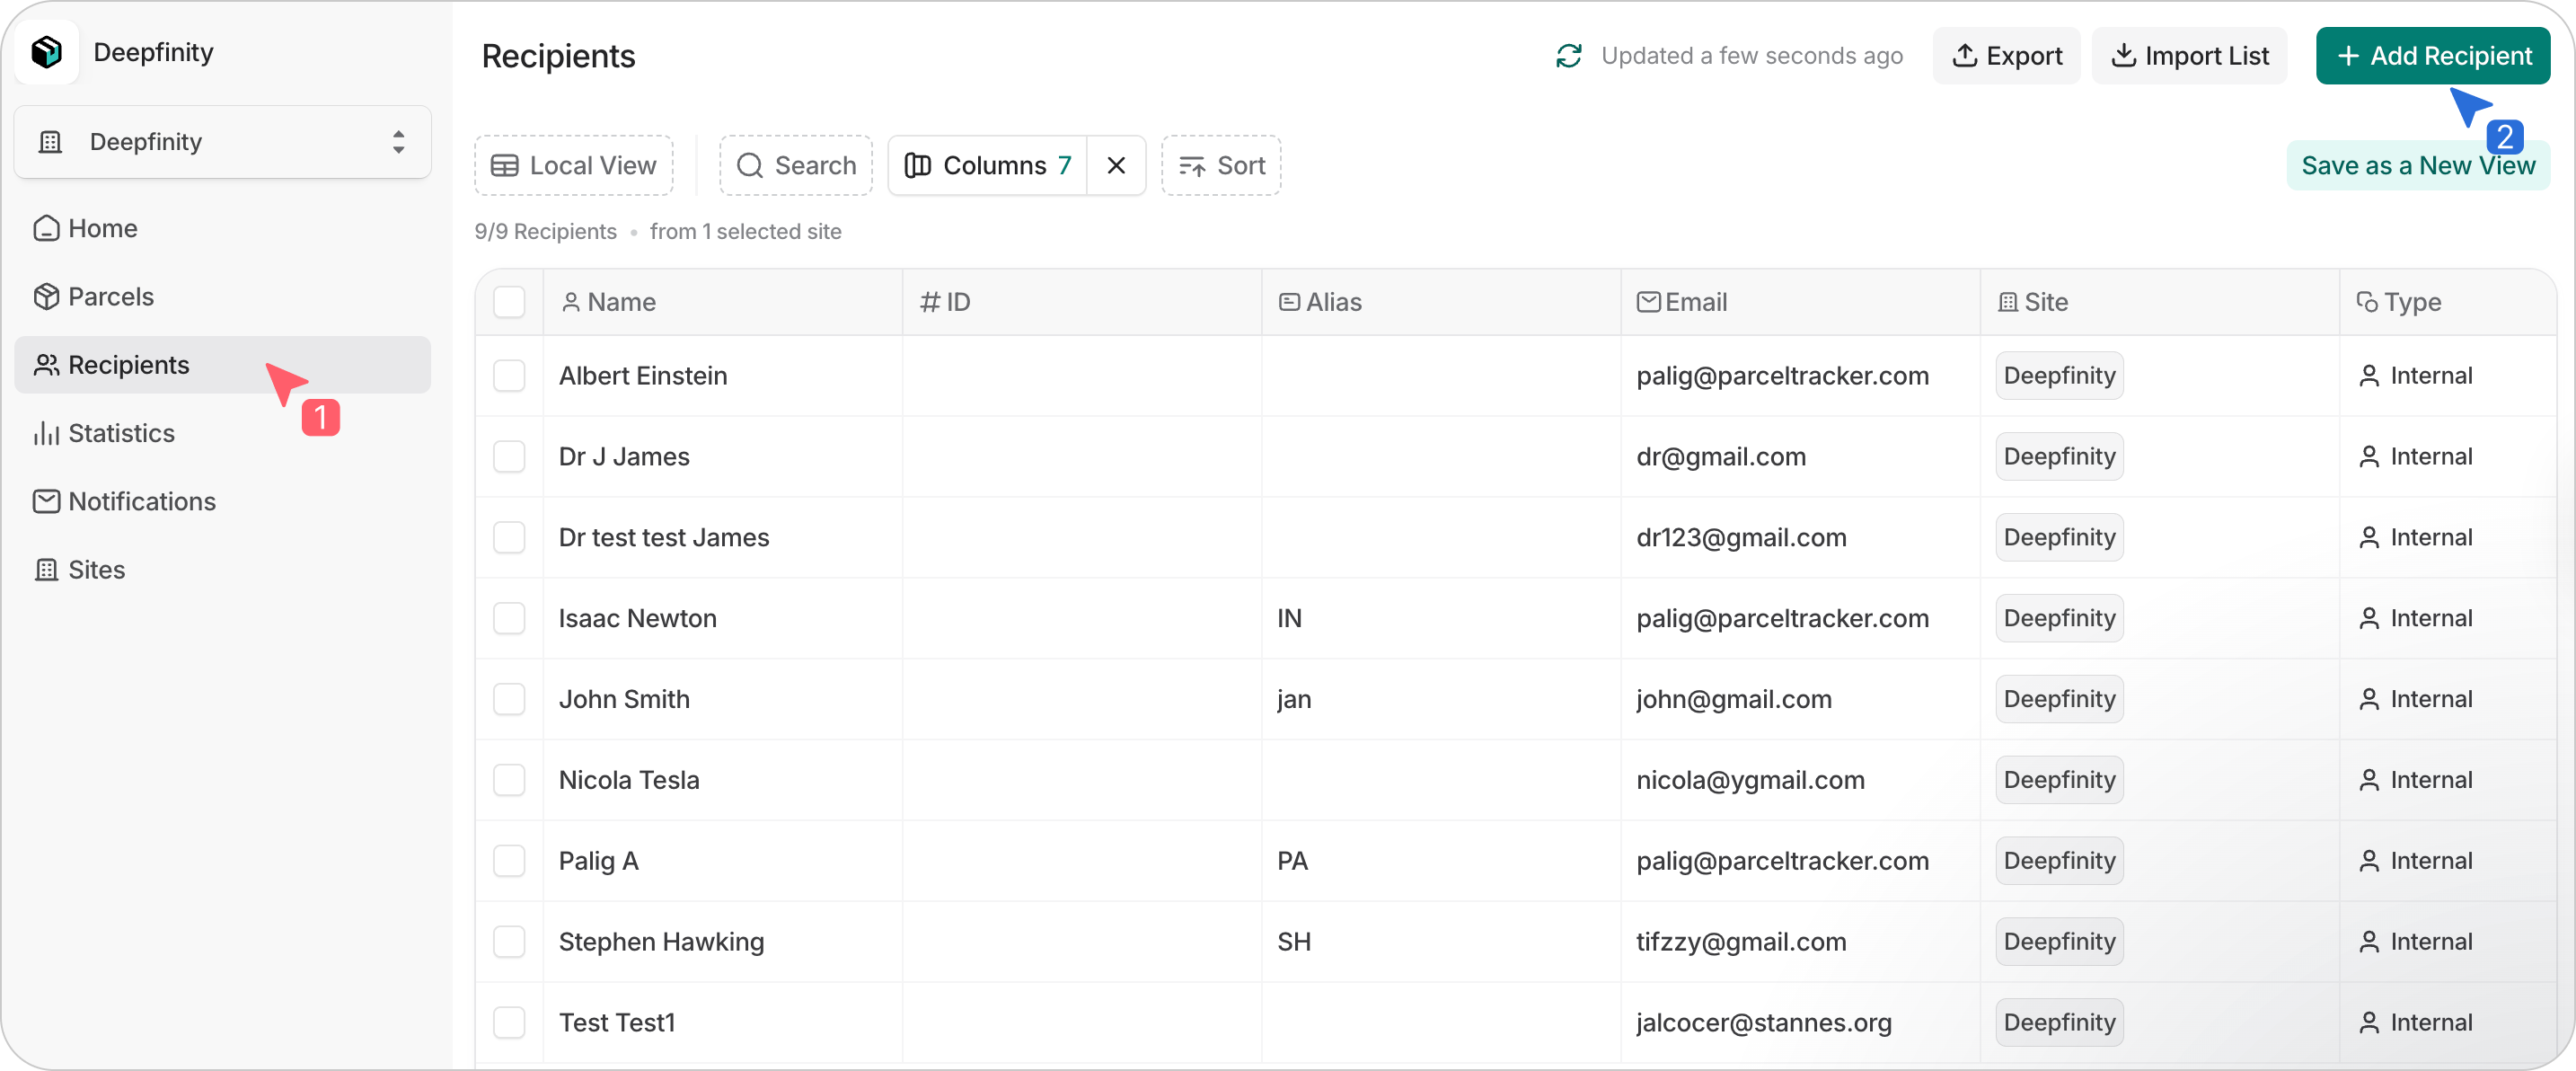
Parcel Tracker will flag errors, duplicates, and changes if the list is updated later. To add recipients individually, select Add Recipients and enter their details.
4. Set Up Scanning Devices for Mailroom Staff
Designate the devices your team will use to scan parcels. Parcel Tracker works on both Apple and Android phones or tablets.
Recommended devices:
- iPhone SE or newer
- Android devices with at least 6GB RAM and a 2.8GHz processor
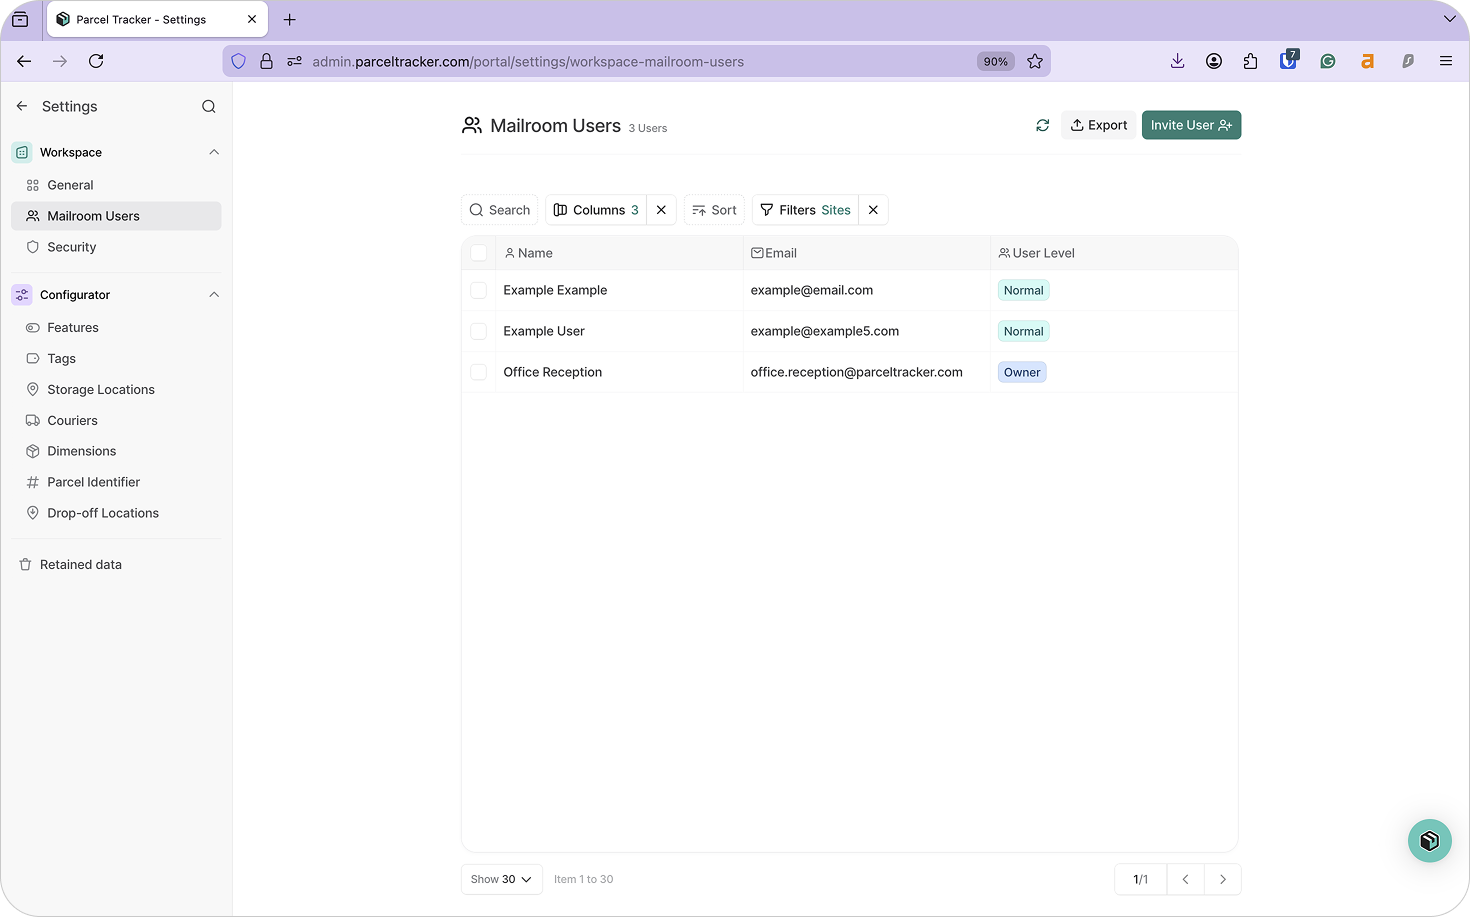
Universities may use shared devices in mailrooms or allow staff to use personal phones. Staff using personal devices should be added as Mailroom Users.
To add users:
- Go to Mailroom Users → Invite User
- Assign roles based on responsibilities
5. Configure Parcel Tags
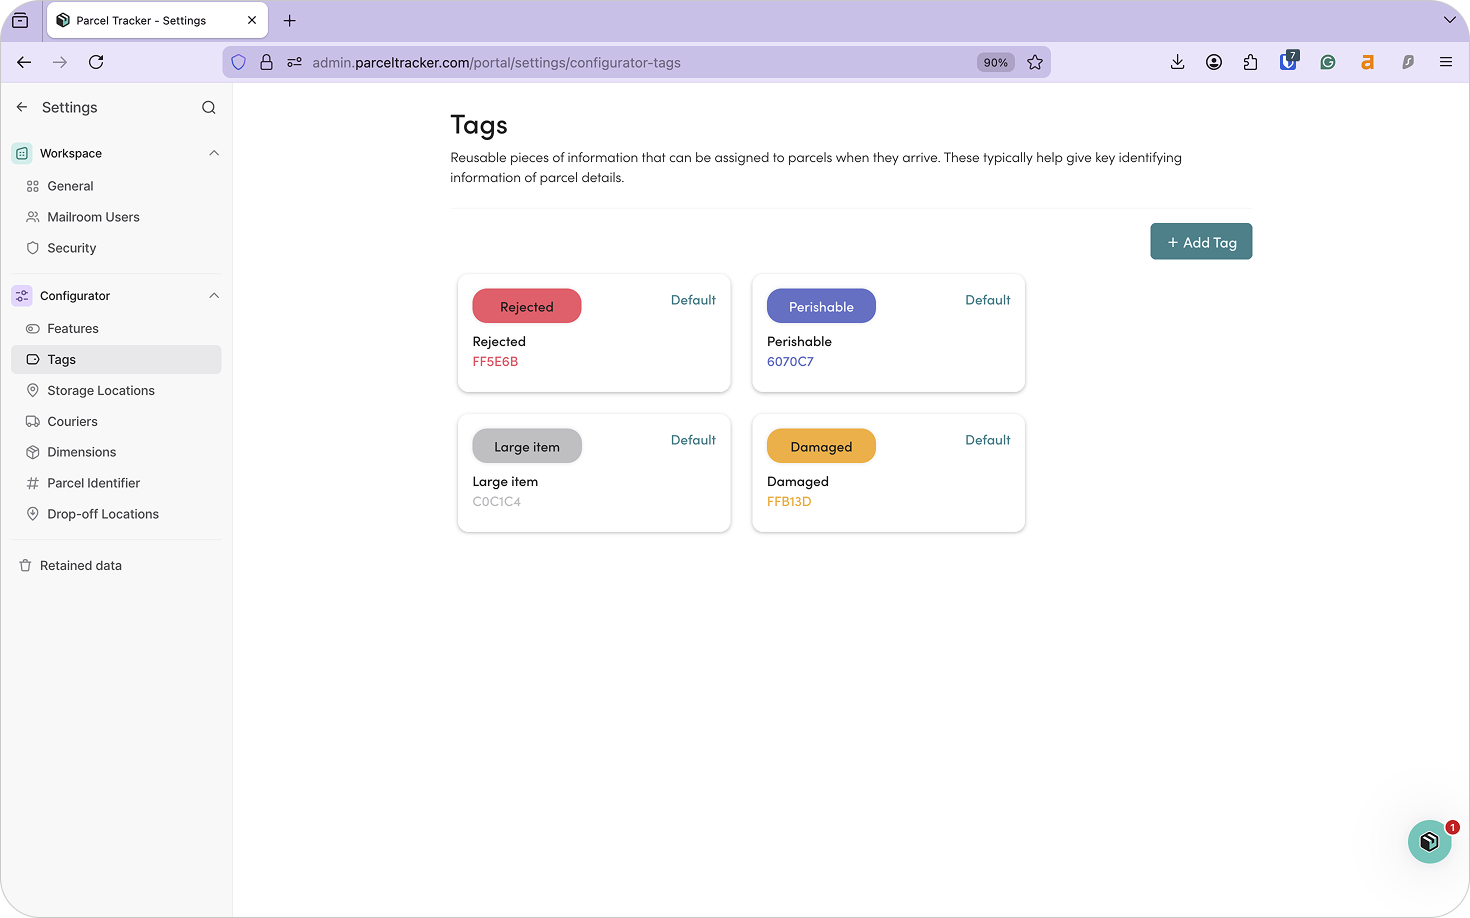
Tags help staff quickly understand how parcels should be handled, especially during peak delivery periods.
Common university tags include:
- Handling: Fragile, Damaged, Oversized
- Content: Documents, IT Equipment, Lab Supplies
- Routing: Residence Hall Delivery, Department Delivery
- Workflow: Signature Required, Internal Transfer Required
Clear tagging helps parcels move smoothly from intake to collection. To add a tag, select Add Tag and choose a color for visibility.
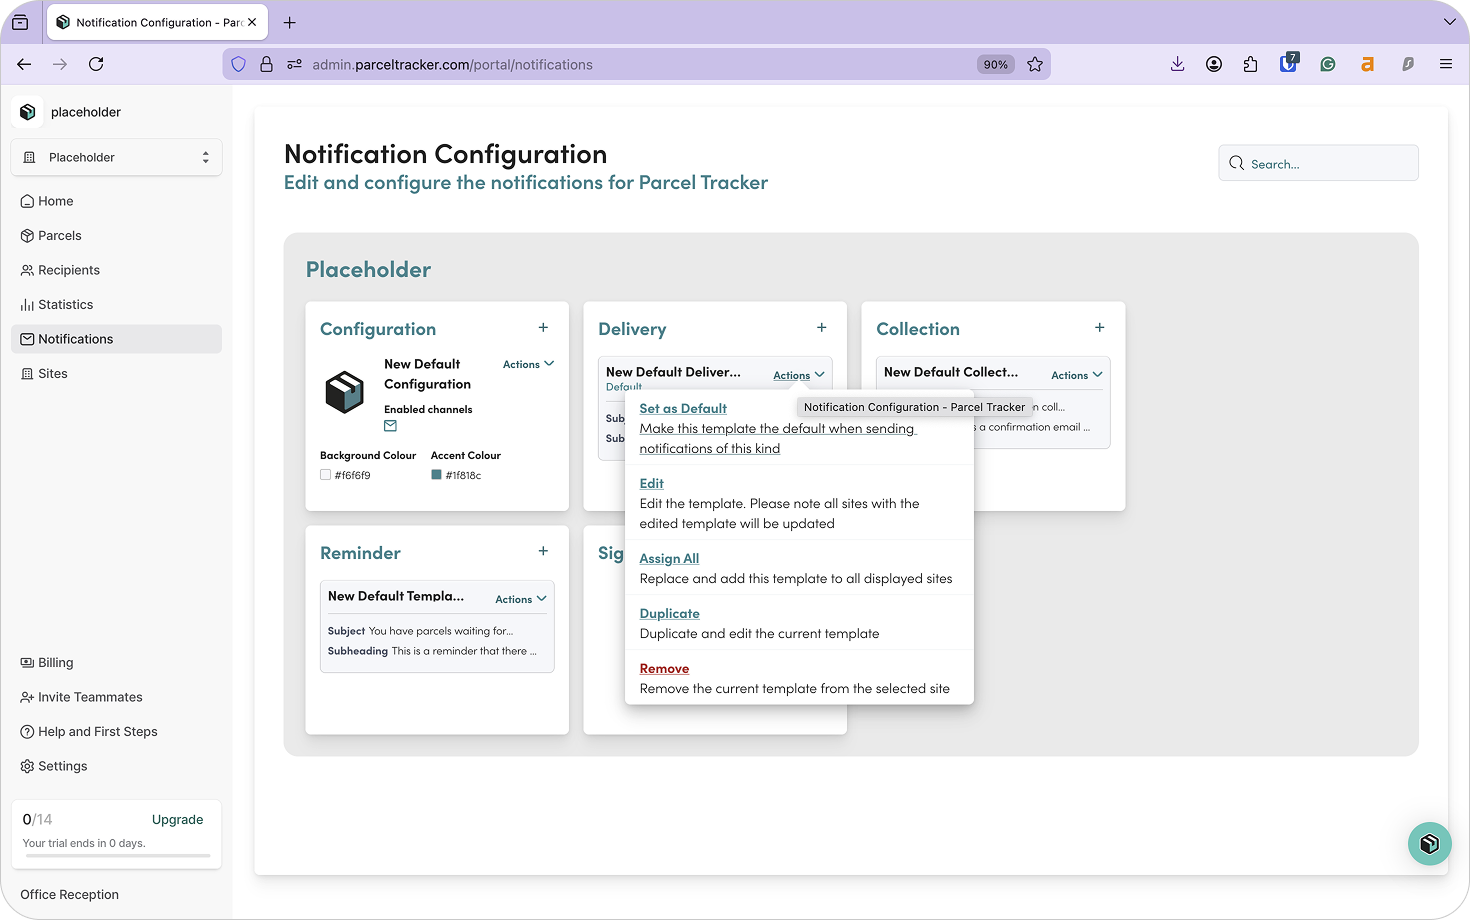
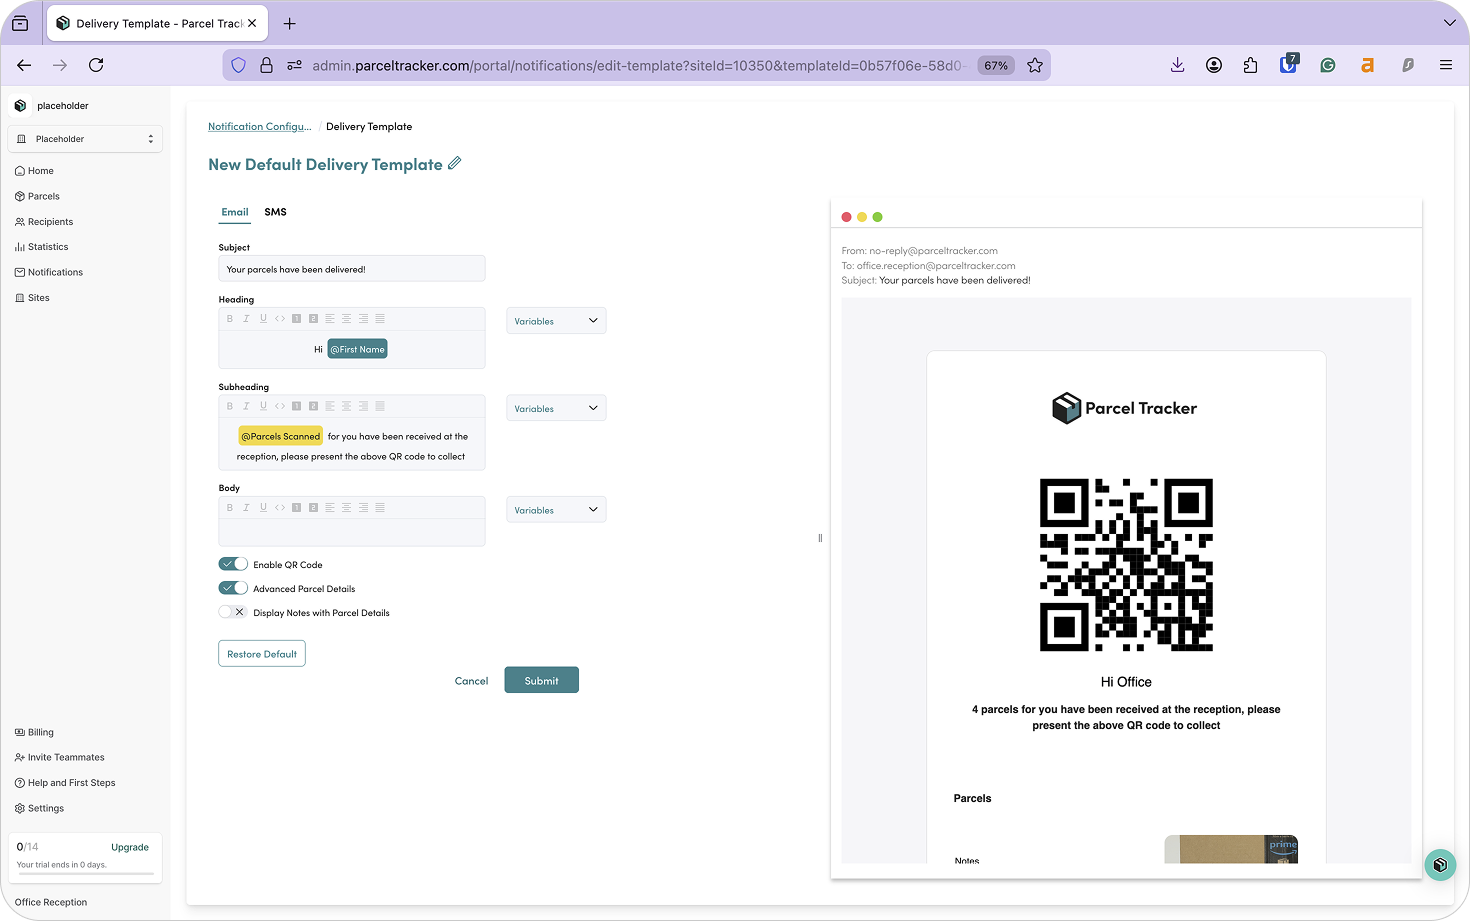
6. Configure Notifications and Branding
Parcel Tracker automatically notifies recipients when parcels arrive, reducing queues and inquiries at mailrooms.
Notification types include:
- Delivery
- Collection
- Reminder
- Sign-up
To customize notifications:
- Open the Notifications tab
- Enable templates and edit messaging as needed
- Configure notifications by site if required
7. Set Up Storage Locations
Storage locations reflect how parcels are physically stored.
For university mailrooms, examples include:
- Shelf A – Row 1
- Shelf B – Row 2
- Locker 1 / Locker 2
Assigning storage locations during scan-in saves time and reduces misplaced parcels during busy collection periods. To add storage locations, select Add Location. You can add as many as you need.
8. Download Parcel Tracker for Mobile
Download Parcel Tracker – Mailroom from the App Store or Google Play Store and sign in using your account credentials.
9. Parcel Sign-In
When parcels arrive:
- Select Scan Parcels
- Capture recipient details and barcode
- Take a photo
- Assign tags and storage locations
- Submit and check in
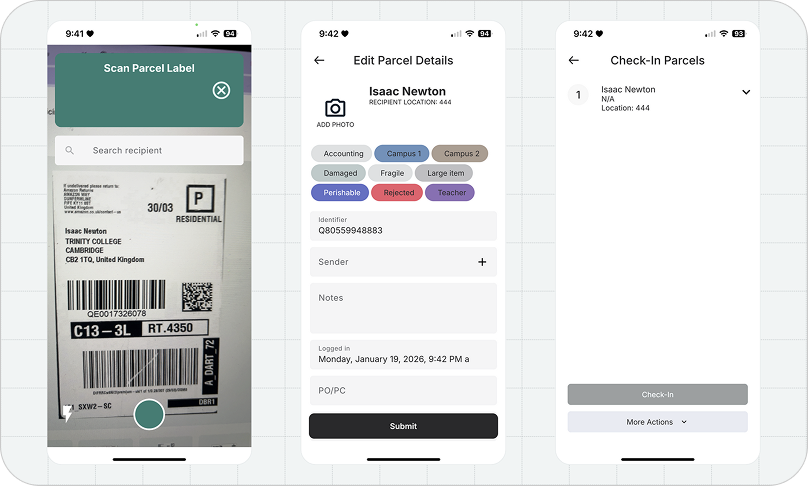
Parcels will appear in the Parcels tab on the dashboard.
10. Move Parcels Across Campus
Internal couriers can track parcel movement between buildings.
To pick up parcels:
- Go to the Move tab
- Select Pick-up
- Scan parcels and confirm
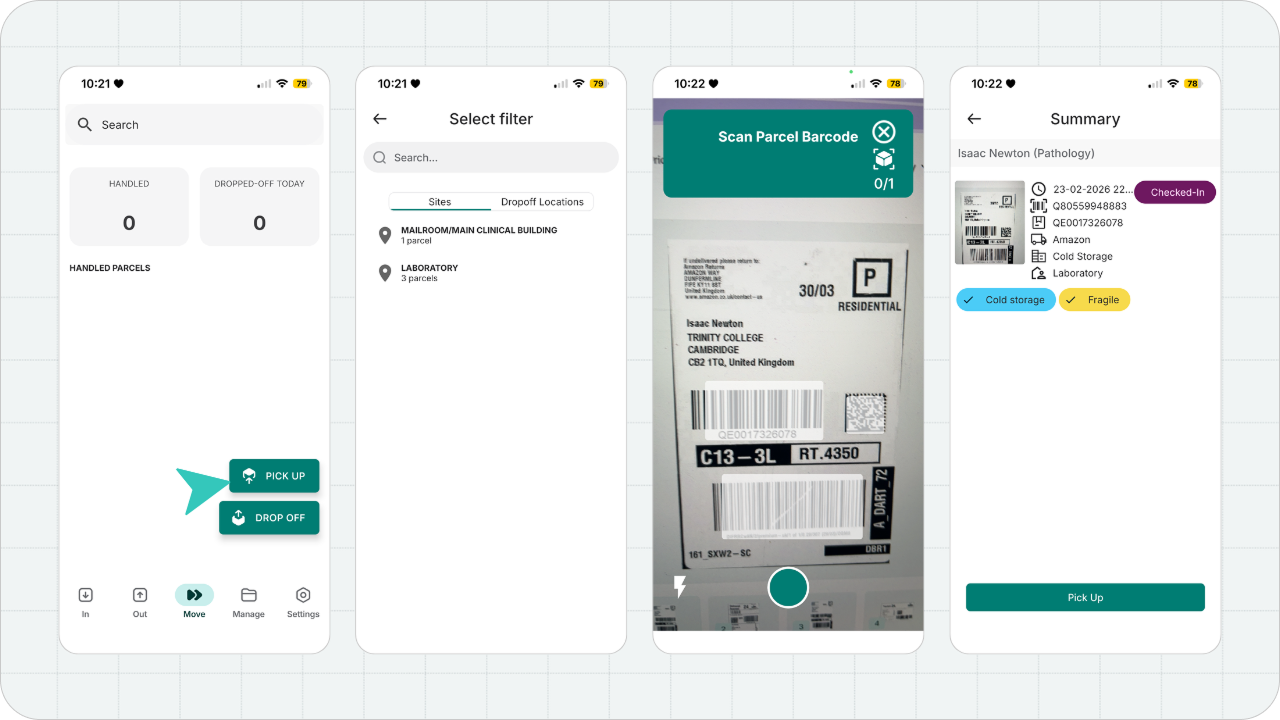
To drop off parcels:
- Select Drop-off
- Choose the destination site
- Confirm delivery
Each movement is logged for full visibility.
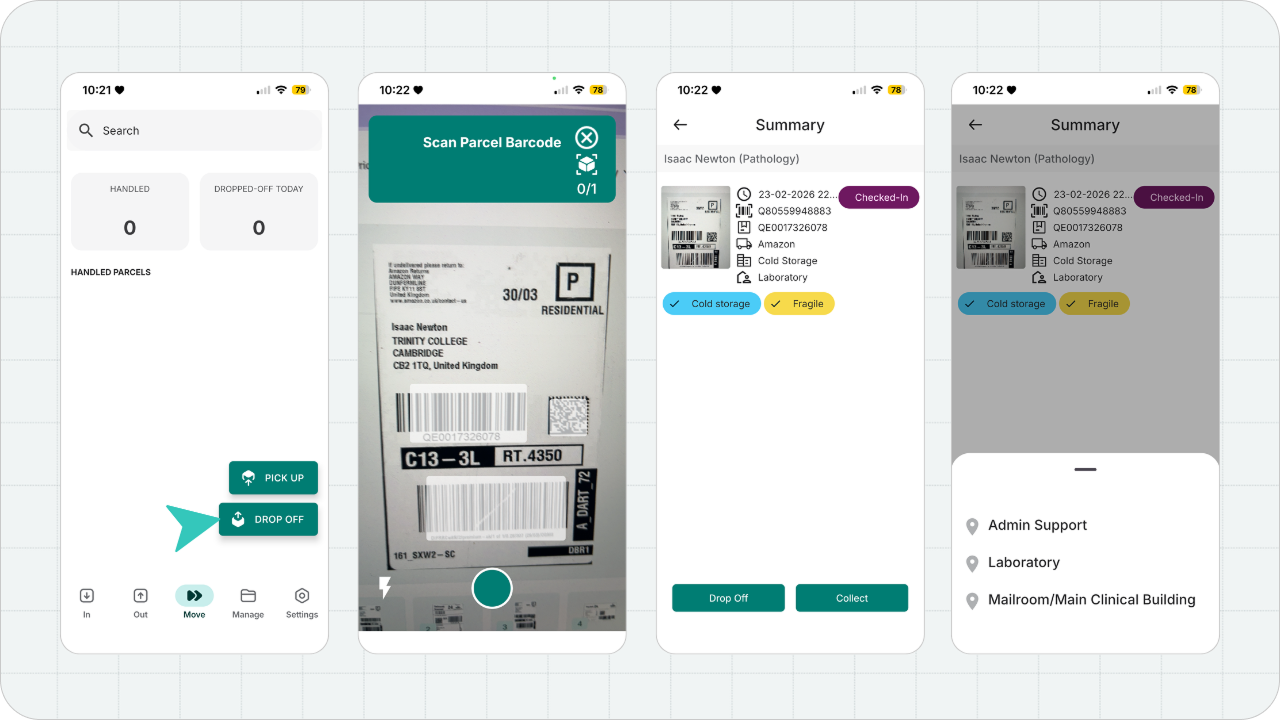
11. Parcel Sign-Out
Parcels can be signed out in two ways: By couriers delivering directly to recipients, and by recipients collecting parcels using QR codes or e-signature.
Via Internal Courier
- From the Move tab, select Pick Up
- Scan or select the parcels
- Select Pick Up again. This marks parcels as Handled.
- Upon reaching the end recipient, select Drop Off.
- Scan or select the parcels.
- Instead of Drop Off, select Collect and obtain a signature to confirm delivery.
Via Recipient Checkout
The recipient will receive a unique QR code in their email that they can use to collect their parcel. The recipient must present this QR code to staff, and from there:
- From the Out tab, select Recipient Check Out
- Scan the recipient's QR code
- Scan or select the parcels they're going to collect
- Press Next and Check Out
Tip: Use Reporting to Prepare for Peak Periods
Reporting tools help universities track:
- Peak delivery times
- Average pickup times
- Volume spikes during term start and move-in
These insights help teams plan staffing, storage, and workflows in advance.
Final Thoughts
With Parcel Tracker, universities can bring consistency to mailroom operations, handle higher volumes with confidence, and maintain visibility as parcels move across campus.
Ready to streamline parcel handling across your university? Create a free Parcel Tracker account or explore our campus workflows to get started.